You’re probably here because you want to know how to hike Mt. Gwanaksan in Seoul, and whether it’s worth a spot on your South Korea itinerary.
Short answer: yes. And honestly, it might be the most beginner-friendly of Seoul’s big hikes, which is exactly why I’m recommending it to first-timers and solo hikers.
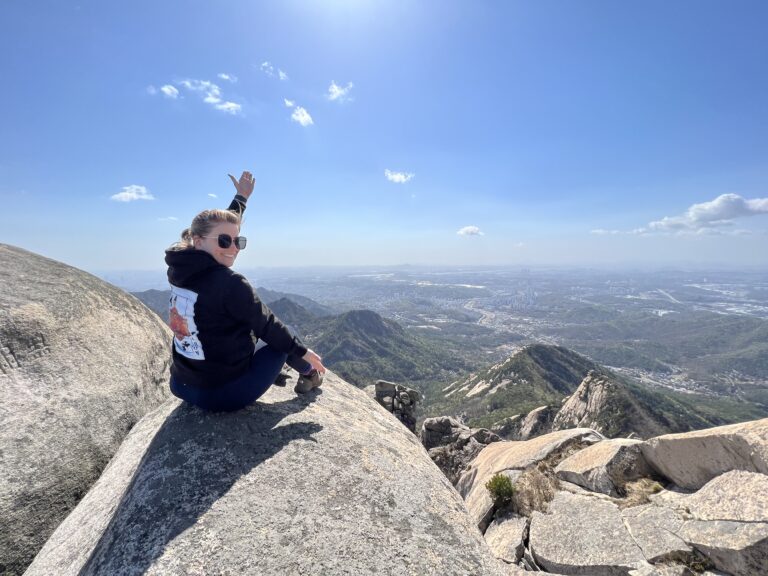
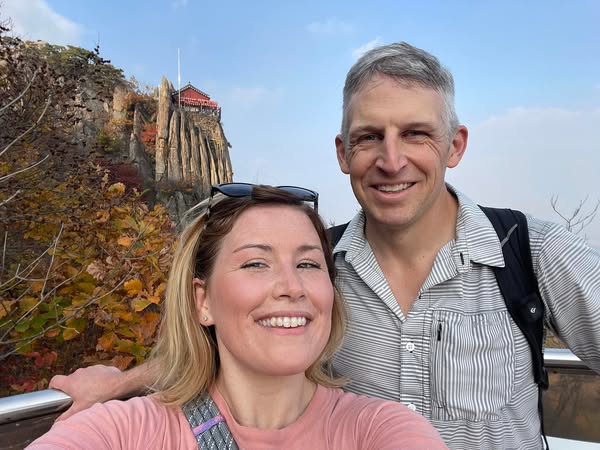
I hiked Gwanaksan in late October 2023, and it ended up being the last hike my husband and I did before we left Korea for good. I’m weirdly sentimental that we went out on this one. After a couple of years of dragging myself up Korea’s steeper, knee-destroying trails, Gwanaksan felt almost gentle by comparison.
There are a lot of stairs, and you’ll scramble a bit near the top, but it never wrecked me the way Bukhansan or Songnisan did.
Here’s my honest, been-there guide: the trails, how to actually get there (the genuinely annoying part), what surprised me, and what I’d do differently if I had a do-over.
And while I did hike Gwanaksan with my husband, I am framing this for Solo Female Hikers, because I feel this is perfect for you!
In a Rush? My Top 3 Picks for Hiking Gwanaksan
The three things I’d sort out before you ever set foot on the trail.
Stay Connected
Holafly Korea eSIM
You’ll need Naver Maps and Komoot working the second you exit the metro. An eSIM means you’re online before you land.
Check Holafly →Move Around Seoul
Discover Seoul Pass / T-money
The metro is how you reach every trailhead. Sort your transit card before you go and skip the ticket-machine fumbling.
See it on Klook →Don’t Skip This
Real Hiking Shoes
Half the people I saw were in sneakers. Don’t. The granite up top is no joke. These are the boots I wore.
Shop the boots →Why Hike Gwanaksan and Where is Mt. Gwanak?
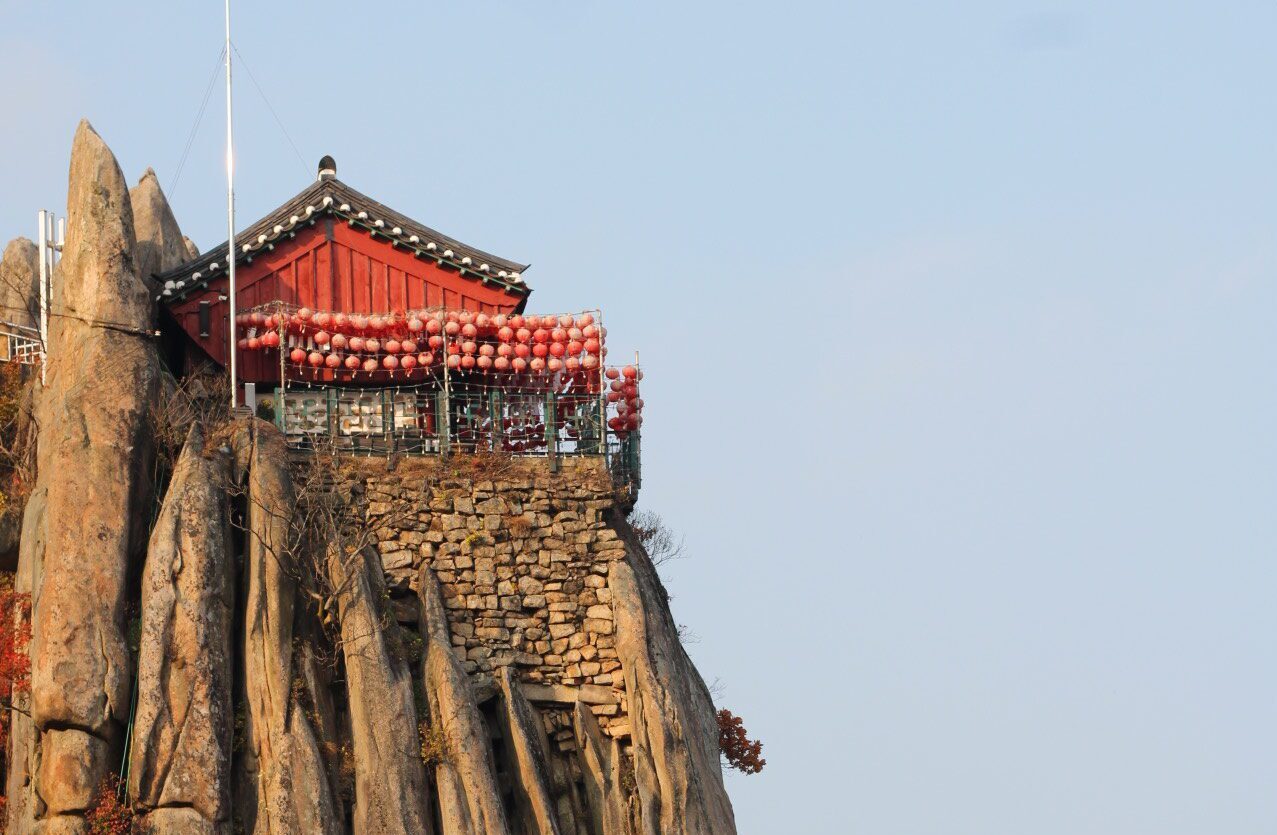
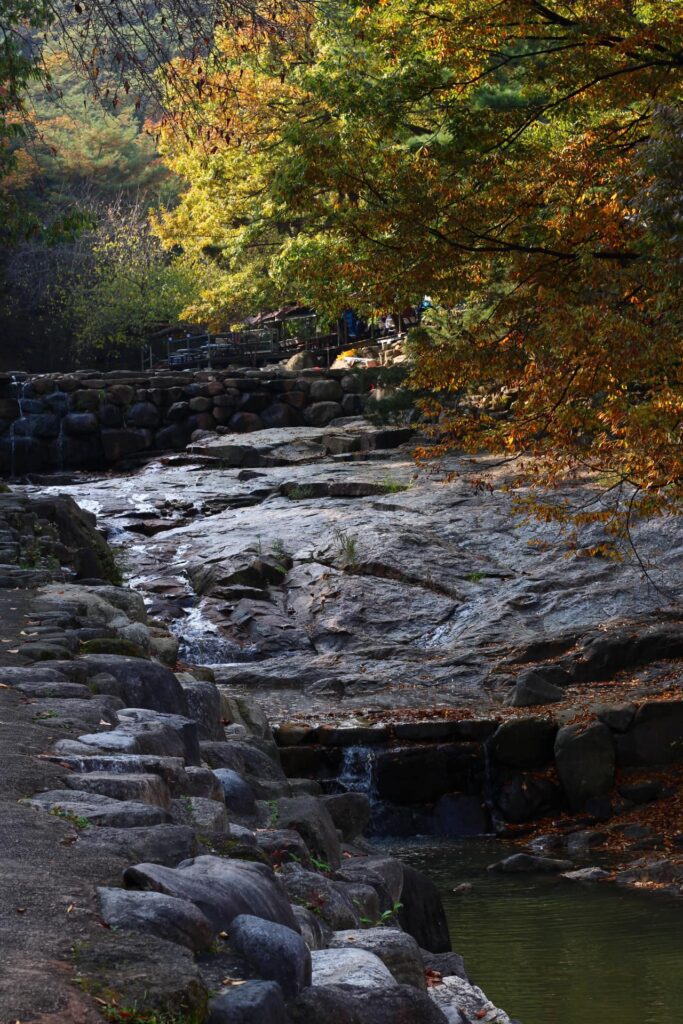
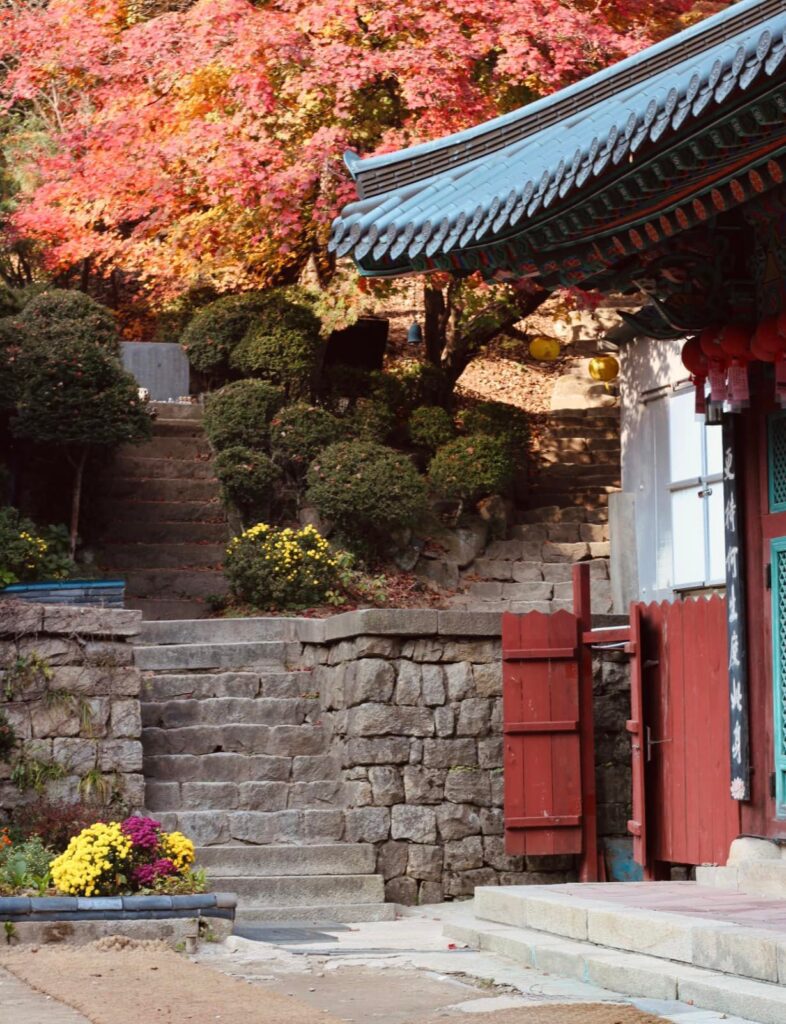
Gwanaksan sits on the southern edge of Seoul, and it’s a favorite with locals and visitors for good reason: dense forest, dramatic granite, and a cliffside Buddhist hermitage near the top that genuinely stopped me in my tracks. The trails are well maintained, and even though it’s popular, I still found quiet stretches where it was just us and the trees.
What surprised me most was how manageable it felt. I’ve done a fair number of hikes in Korea, and a lot of them punish you.
Gwanaksan has plenty of stairs and a bit of scrambling near the summit, but it never crossed into “why did I do this to myself” territory. If you’re easing into Korean hiking, or you’re a solo hiker wanting something well-trafficked and clearly marked, this is a fantastic first big one.
A small thing I loved, and that tells you a lot about why I felt safe hiking here, solo-friendly: Korea labels everything. Paths, directions, and warnings are all clearly marked. That kind of signage takes a huge amount of the anxiety out of navigating an unfamiliar mountain on your own.
Mt. Gwanaksan At a Glance
Location: Southern Seoul (Gwanak-gu, Seocho-gu & Gwacheon)
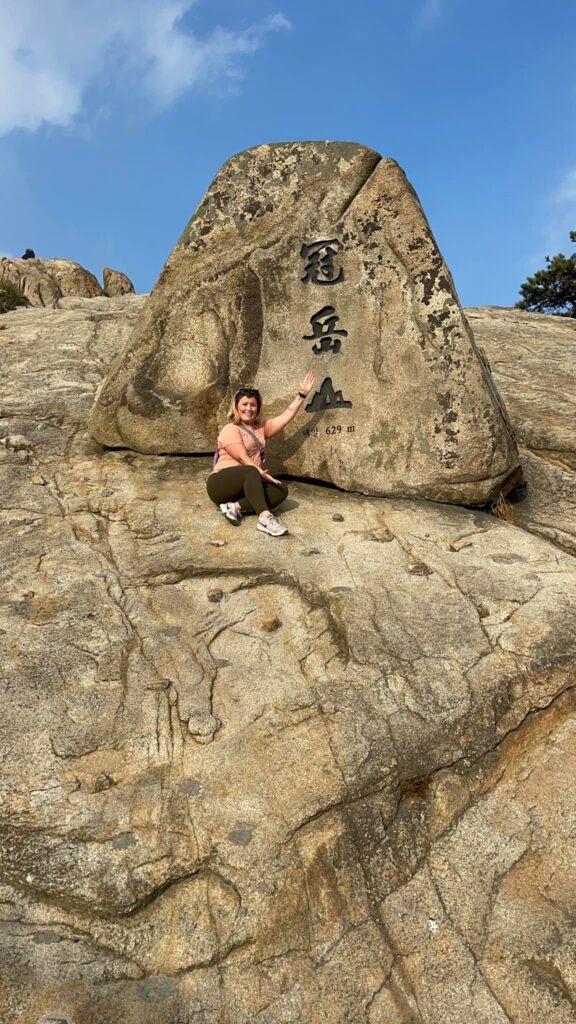
Summit: 629 m (Yeonjudae / Yeonju Peak)
Time to summit: 1.5 to 2.5 hours, route depending
Difficulty: Moderate (mild by Korean-hike standards, but lots of stairs)
Best seasons: Spring & autumn (I went late October)
Highlights: Yeonjudae cliffside hermitage, granite ridges, summit views to Namsan
Bring: Water, snacks, light layers, and actual hiking shoes
Solo-friendly? Yes. Popular, well-marked, and Korea’s trail signage is excellent.
How to Get to Mt. Gwanaksan
I’ll be straight with you: the worst part of this entire hike was getting to the trailhead. The hike itself is lovely. The Seoul metro? That’s where your day can quietly fall apart if you don’t know what you’re doing.
If you haven’t gotten comfortable with the Korean metro system yet, give yourself extra buffer time, because figuring out the right line, the right exit, and then the walk from the station to the actual trailhead added more delay to our morning than I’d planned for. We left later than we should have, and the time lost on the metro meant less time on the trail.
Two things that saved us:
- Naver Maps for getting to the right start point. (Google Maps does not work well in Korea, full stop.)
- Komoot for navigating the trail itself. Here’s the exact route we used: Baegundae Summit Stone to Gwanaksan / Yeonjudae Peak loop from Gwacheon.
We took the Baegundae route from Gwacheon Station (Line 4, Exit 7), which is the scenic, quieter option with moderate difficulty.
Save yourself the metro headache: sort a T-money card or Discover Seoul Pass on Klook before you arrive, and get a Holafly eSIM so Naver and Komoot work the moment you step off the train. The two things that would’ve saved us the most time.
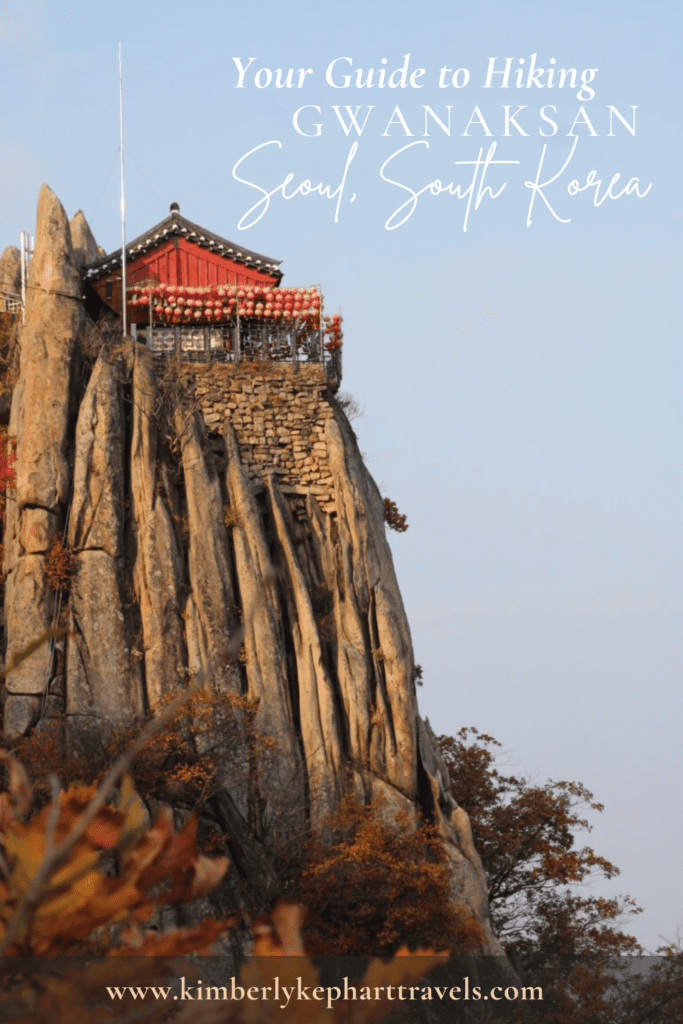
SAVE THIS FOR LATER ON PINTEREST
The Trails of Gwanaksan
We chose to take the Baegundae Summit Stone to Yeonjudae, but there are other routes We chose the Baegundae Summit Stone route to Yeonjudae, and that’s the one I can speak to firsthand. I’ve listed the two other main routes below so you can pick the one that fits your level, but I want to be honest:
I personally hiked the Gwacheon/Baegundae route, not the other two.
1) Baegundae Summit Stone Route (the one I did — recommended)
- Start: Gwacheon Station, Exit 7
- Duration: 1.5 to 2 hours
- Difficulty: Moderate
- Why I liked it: Quieter than Sadang, beautiful viewpoints, and it delivers you to Yeonjudae without needing to be a mountain goat.
2) Sadang Route (the hard one)
- Start: Sadang Station, Exit 4
- Duration: 2 to 2.5 hours to the summit
- Difficulty: Hard
- Good for: Experienced hikers who want rope-assisted scrambles and the best cityscape views. This is the steepest, most technical way up. I didn’t take this route, but it’s the one locals point to when they want a workout.
3) Seoul National University (SNU) Route
Good for: A balanced climb through woodland with plenty of rest spots. A solid alternative if you’re starting from the SNU side of the city.
Start: Seoul National University entrance
Duration: 1.5 to 2 hours to the summit
Difficulty: Moderate
What you’ll see on the trail
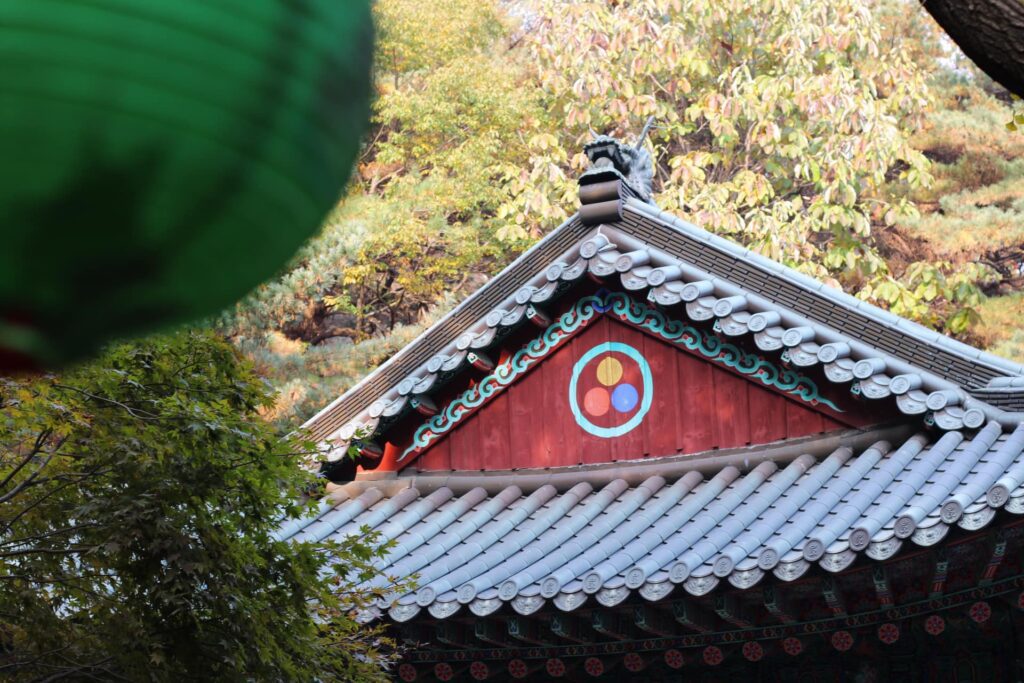
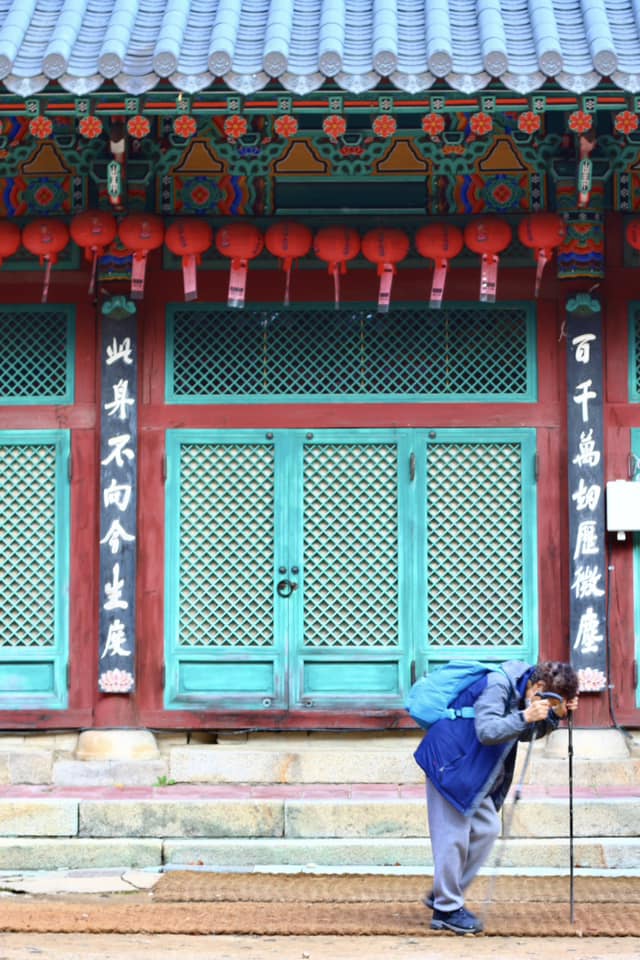
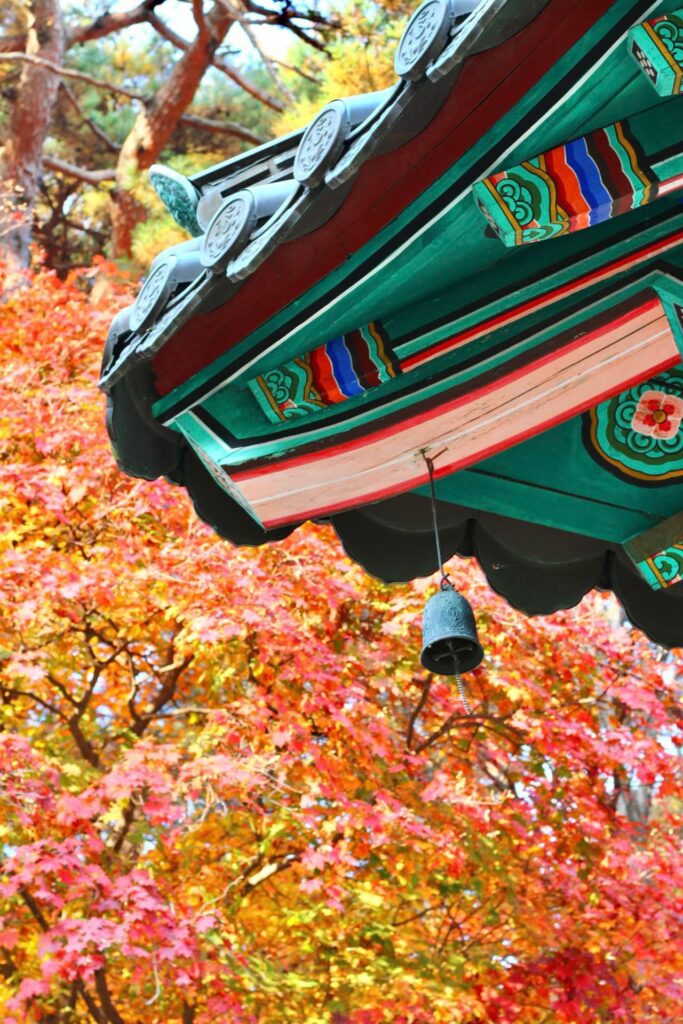
Yeonjudae Hermitage
The cliffside hermitage near the summit is the showstopper, and the path to it is narrow, so take your time. Fair warning: there’s a smaller temple you pass before you reach the famous cliffside one, and I genuinely regret not stopping there. We were focused on the main event and breezed past it. Don’t make my mistake. Build in time for both.
The Summit and the Cats
The summit gives you 360-degree views of Seoul, and on a clear day you can see all the way to Namsan Tower and the Han River. When we got up top there was a small group of people but nowhere near what I’d call crowded. It stayed a quiet, peaceful hike start to finish.
And then there were the cats. So many cats. Adventurous, completely unbothered, summit-dwelling cats who have clearly decided the top of a mountain is a perfectly reasonable place to live. They were a highlight, honestly.
Beacon Mound
Up top, you’ll also find a beacon mound, part of Korea’s old fire-signal communication system used to relay messages between fortresses. A nice little brush with history while you catch your breath.
A HONEST NOTE ON WHAT I’D DO DIFFERENTLY
A few things I’d change on a do-over:
- Start earlier. We left later than planned, lost time fumbling on the metro, and ended up more rushed than I wanted. Get an early start and you can linger.
- Wear real hiking shoes. I noticed a lot of people in sneakers, and I get the temptation since it feels mild, but the rocky, granite sections near the top genuinely need proper footwear. This is not the hike to test your luck in trainers.
- Eat at the bottom. There are restaurants right at the base, and I wish we’d grabbed a proper meal there. We skipped it because we had plans to head to Ashtree Brewery back in Seoul, but those bottom-of-the-trail spots looked great.
- Mind the air quality. Late October weather in Seoul is generally fine, and ours was a touch humid as the fall heat tapered off, totally manageable. But Seoul’s air quality genuinely varies day to day, so check it the morning of. It can make or break your summit views.


When is the Best Time to Hike Gwanaksan?
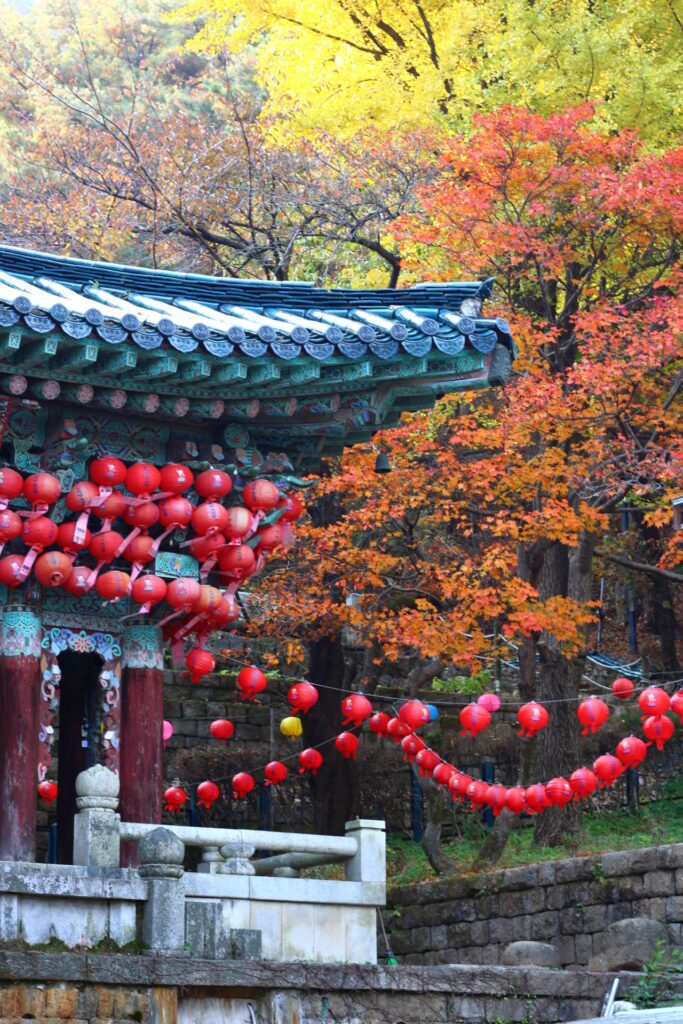
In my opinion? Fall, hands down. I went in late October, and the foliage was worth every step. But here’s the quick season-by-season:
- Spring (Mar to May): Cherry blossoms and mild temps. Lovely.
- Summer (Jun to Aug): Green but hot and humid. Start early.
- Autumn (Sep to Nov): The best, in my book. Fiery foliage all over the trail.
- Winter (Dec to Feb): Clear, sometimes snowy, but icy paths get genuinely dangerous. Microspikes if you go.
History of the Yeonjudae Temple
Yeonjudae is steeped in history. It was originally called “Uisangdae,” built by the Buddhist monk Uisang, with roots dating back to 677 during King Munmu’s reign. (Fixes: “Kin Munmu” to “King Munmu.”) It was later renamed Yeonjudae, which roughly translates to “a place where one longs for one’s king.”
Standing up there, it was genuinely moving to think how much history was sitting beneath my feet, a spiritual (fix the “spirtual” typo) thread running right through one of Seoul’s most beloved mountains.
Gwanaksan is one of Seoul’s best hikes!
Gwanaksan is one of Seoul’s best hikes, and a perfect one to start with if you’re new to Korean trails or hiking solo. Whether you take the steep Sadang route, the SNU path, or the quieter Gwacheon trail as I did, you’re in for a beautiful, well-marked day out, summit cats included.
Lace up your actual hiking shoes, sort your metro situation the night before, and go early. You’ll be glad you did.
FAQ For First Time Hikers at Gwanaksan
Gwanaksan offers trails ranging from moderate to challenging. The Sadang route is the most difficult, while the SNU and Gwacheon trails are better for beginners.
Yes, but be sure to clean up after yourself and respect nature. There are some designated rest areas along the trails.
Can your children hike up mountains safely? Can they tolerate the long trek? The moderate trails (SNU and Gwacheon) can be suitable for older children, but the Sadang route is too steep for young kids.
Yes, especially on weekends and in peak hiking seasons (spring and autumn). Arriving early will help you avoid the crowds.
It’s not recommended unless you are experienced and have proper gear. The trails can be tricky in the dark.
Restrooms and refreshment stalls are available at some trailheads, but are limited as you go higher. Carry enough water and snacks.
Keep Exploring Korea and More Hiking Guides:
- Where to Stay in Seoul: 5 Areas Actually Worth Staying In
- Top Things to Do in Seoul, South Korea
- Your Guide to Exploring Bukhansan National Park in Seoul
- Hiking Mt. Inwangsan with Honeytrail Korea
- Songnisan National Park: Hiking to Munjangdae Peak
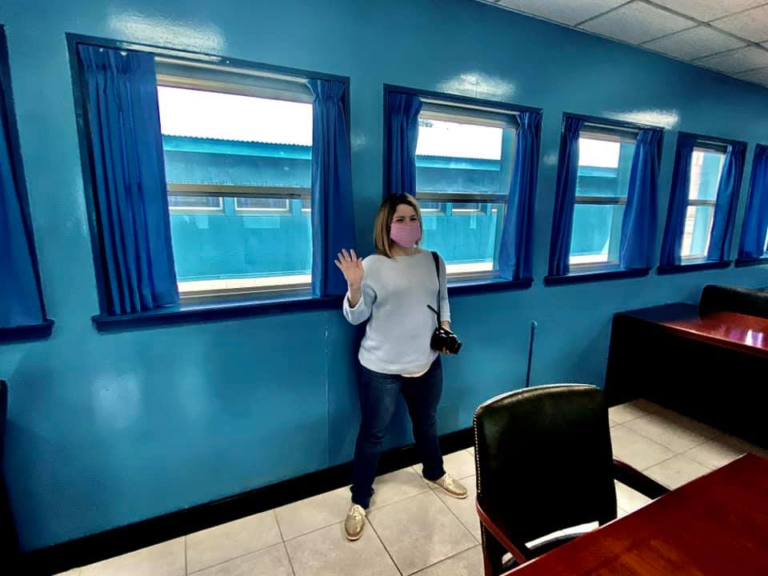
- What It’s Really Like to Visit the Joint Security Area (DMZ)
- The Magic of Seoul’s Lotus Lantern Festival
- Learn All About Chorok Miso in Pyeongtaek, South Korea
- Boseong Tea Fields: A Simple Guide For First-Timers
- Ultimate PCS Guide: South Korea to Italy
- Travel Advising & Custom Itinerary Planning