Dolomites Hut to Hut Packing List: What I Actually Pack for Rifugio to Rifugio Hiking

If you are planning a hut to hut trek in the Dolomites, this is the packing list that will keep you from suffering on day three.
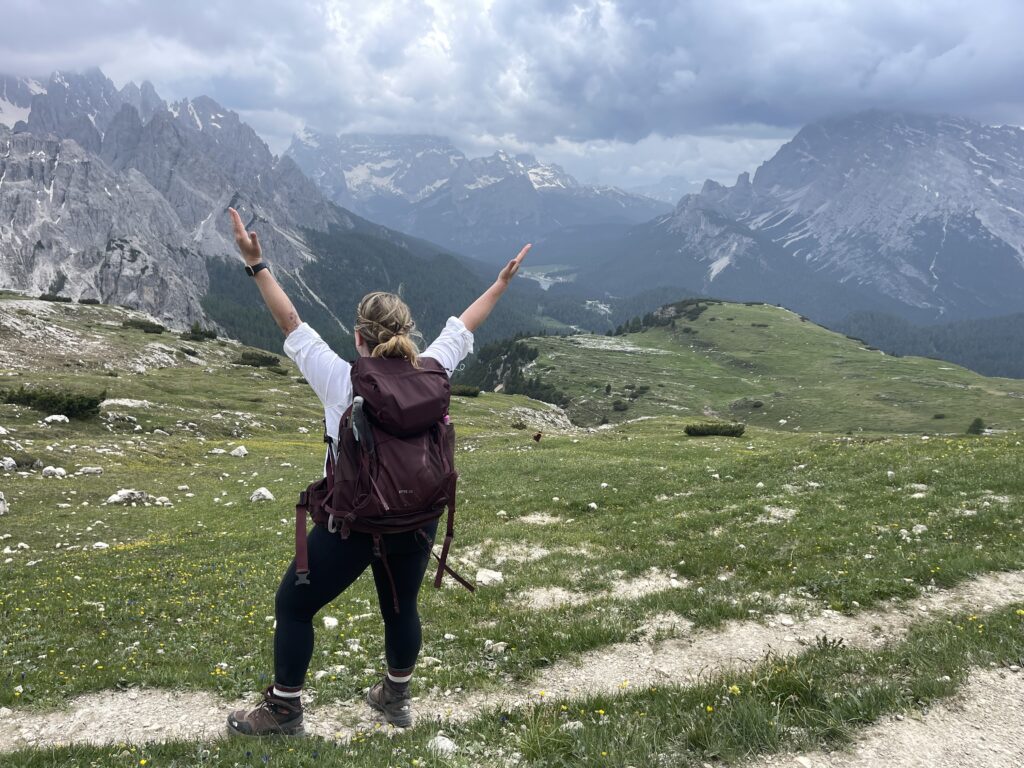
I have hiked Alta Via 1, Alta Via 2, the Palaronda Trek, and the MADE Trek. After carrying my life on my back across steep alpine terrain, I have refined this system down to what actually matters.
This list is built specifically for rifugio to rifugio hiking where you carry everything, weather shifts quickly, and pack weight directly affects your experience.
Below, I break down exactly what to pack for a multi-day Dolomites hike, what to leave behind, and how to stay comfortable in mountain huts, especially as a solo female hiker.
If you are still planning logistics, start with my First Timer’s Guide to the Dolomites, learn how to make a reservation at a Dolomites mountain hut, and decide where to stay before and after Alta Via 1 so your trek begins and ends smoothly.
Now let’s get your pack right.
At a Glance: What to Pack for a Dolomites Hut to Hut Trek
Must bring: sleeping bag liner, waterproof layers, toiletries, earplugs
Best for: rifugio to rifugio hiking in the Dolomites
Routes tested: Alta Via 1, Alta Via 2, Palaronda Trek, MADE Trek
Trip length: 4 to 10 days using a rewear and rinse system
Target pack weight: 4 to 6kg without water
Rifugios provide: bed, blankets, dinner, breakfast
Why Packing Light Matters for Hut to Hut Hiking in the Dolomites
Hut to hut trekking in the Dolomites is physically demanding in a way day hiking is not. Long distances, sustained elevation gain and loss, and steep descents mean every ounce in your pack matters, especially by day three.
Because you stay in rifugios, you do not need a tent, stove, or heavy sleep system. But you do need smart layers for fast-changing alpine weather, reliable hydration, blister prevention, and just enough comfort to recover each night.
This packing list is designed for 4 to 10 days of rifugio hiking, whether you are tackling Alta Via 1, Alta Via 2, or another multi-day Dolomites trek. The strategy stays the same: pack light, pack functional, and pack with intention.
The Rifugio Reality Check: What Most Packing Lists Leave Out
Rifugios are not hotels. They are shared mountain huts, often remote, with limited resources and communal sleeping arrangements.
Here is what that means for packing.
- You will likely sleep in dorm-style rooms that may be co ed
- Blankets and pillows are usually provided, but sheets are not
- Showers may be limited, timed, or unavailable
- Drying space is scarce
- Quiet hours are early, and earplugs matter
- You may have limited outlets, limited charging time, or a fee for electricity
Once you understand rifugio life, packing decisions get easier. You stop packing for comfort at home and start packing for comfort on trail
Plug Converters & Charging in Dolomites Rifugios
Most rifugios in the Dolomites use standard European outlets, but access to electricity can be limited — especially during peak season when everyone is charging phones, headlamps, and power banks at the same time.
Here’s what you need to know before you pack:
Outlet type:
- Type C and Type F (European two-pin plugs)
- The same plug is used in Italy, Austria, Germany, and much of continental Europe
What I recommend bringing:
- A Type C or Type F plug adapter (not a voltage converter — just the plug shape)
- A compact power bank so you’re not fighting for outlets at night
If you’re traveling from outside Europe (U.S., UK, Canada, Australia), a simple European plug adapter is essential. I personally avoid bulky universal adapters on hut-to-hut treks and stick with a lightweight EU-specific adapter to save space and weight.
MY HUT-TO-HUT PACKING RULES
My core rules:
- If it can’t be worn multiple times, it doesn’t come
- If it doesn’t dry overnight, it doesn’t come
- If I won’t use it daily, I question it
- Comfort beats “just in case” every time
For clothing, I follow a simple rotation:
- 1 pair of hiking pants
- 1 sports bra
- 2 shirts
- 1 hut/recovery outfit
- 1 insulation layer
- 1 weather shell
Everything else supports those pieces.
MY COMPLETE DOLOMITES HUT-TO-HUT PACKING LIST
This first section is the things I never leave without! I’ve put pictures down below with links so you can see each of the items I am referencing.
I love my Kyte 38 Pack in Purple by Osprey, it’s the one thing that has gotten me through all my hiking adventures. I specifically got it fitted for my body at REI before moving to Italy. I traveled with it quite a bit as well.
Trekking poles are important to me. I have old lady knees from years of working in the fitness industry and doing plyometric moves. So these are always with me.
I don’t specifically have a preference for a hydration reservoir, but I think it’s important that the reservoir be at least 3 liters. My Osprey Kyte 38L backpack has a hole for the spicket to lace through.
Headlamps are a wise addition to have in any pack if you happen to be out early in the morning or at evening. I actually keep one in my car as well. There was one time when I caught the sunset at Lago di Sorapis and stayed a bit too long taking it in, and I had two headlamps on me that saved me!
I personally love my Goodr sunglasses because they are quite functional. I got these last year and have fallen in love with them. I used these for my MADE trek, and my hike to Croda Da Lago in the Dolomites.
Goodr if you are looking for a content creator that loves loves loves your gear, HAYYY!
Sleeping Bag Liners are non-negotiables on hut-to-hut hikes. The rifugio will offer a covering, but at a cost. For the past two years, I have been using this Cocoon Coolmax mummy liner. I absolutely love their products and am very happy with this. Rifugios ask you to bring this for hygiene purposes.

- Lightweight microfiber towel
- Knife (I get why you can’t bring this with you, I won’t be linking mine)
- Sleeping bag liner (required at most rifugios)
- Trash bag or dry bag for dirty laundry
CLOTHING (SUMMER / SHOULDER SEASON ADJUSTABLE)
Layers never hurt anyone, but it is annoying to take everything off and put it back on again. Each area of the Dolomites has its own microclimate, and it’s wise to pack as the weather may change on a dime.
I’ve been hiking during sunny days with afternoon rainshowers in the dolomites and then there was that one time on the Alta Via 1, it snowed in early September! I also remember the time on the Palaronda trek, I had to outrun a storm coming in. I was so thankful I had my rain jacket and a sturdy pair of boots to get me through!
2 Moisture Wicking Hiking Tops
Long Sleeve Base Layer
Fleece Pullover

Pajamas/Underwear/Socks and Sports Bras
I pack the basics for comfort, but I do not let comfort turn into overpacking. A hut-to-hut trek is not the place for “just in case” extras.
The non-negotiable for me is socks. If my feet are sweaty, everything goes downhill. Good socks keep your feet drier, reduce friction, and make long descents more tolerable.
For women, breathable underwear matters more than people admit. When you are rewearing layers and showers are limited, choosing fabrics that stay comfortable and dry quickly makes the whole trip easier.

I think for sports bras, I can’t really recommend a favorite, but I usually bring 1 with me if I am on a 4-day excursion and 2 with me if I am on a longer trek.
For gloves, I personally love these. I usually bring gloves with me to the Dolomites because I don’t want cold hands, and it gets quite chilly in the AM/PM
FOOTWEAR & BLISTER PREVENTION (DO NOT SKIP THIS)
Blisters will end your trek faster than bad weather. Prioritize foot care over fashion every time.
Hiking Boots: These happen to be my favorite boots EVER. So comfy.

Hut Shoes: I happen to love Keens, anytype of keen will do!

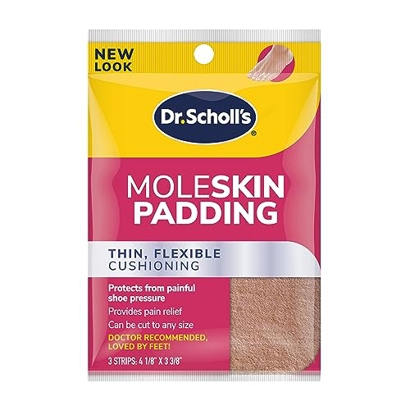
Blister Kits or Moleskin
TOILETRIES, TECH & PERSONAL ITEMS
- Toothbrush, toothpaste, floss
- Small face + body wash
- Face wipes + hand sanitizer
- Menstrual products (bring what you trust)
- Lip balm with SPF
- European plug adapter (Type C / Type F)
- Small first aid kit
- Power bank + charging cords
- Earplugs + sleep mask
- Journal + pen
Packing Differences by the Dolomites Route
Alta Via 1
Well-traveled and logistically straightforward
Emphasis on: blister prevention, sun protection, lighter pack
Water generally available at rifugios
Best for first-time hut-to-hut hikers
Alta Via 2
Steeper terrain and longer descents
Emphasis on: trekking poles, foot care, hydration strategy
Fewer water refill points on some stages
Mentally and physically more demanding
Palaronda Trek
More exposed and rugged alpine terrain
Emphasis on: warm layers (even in summer), gloves, stable footwear
Earlier starts are recommended due to weather
Some variants require a helmet or via ferrata gear (route-dependent)
MADE Trek
Quieter and more remote feeling
Emphasis on: navigation confidence, battery backup, self-sufficiency
Fewer crowds, fewer services
Ideal for experienced hut-to-hut hikers
You don’t need separate packing lists for each trek — you need one solid system with route-specific tweaks, and that’s what this post provides.
WHAT I REGRET BRINGING (AND WHAT I WISH I HAD)
Regrets:
- Extra leggings I never wore
- Too many snacks (rifugios feed you well)
- Bulky sleeping bag liner, you’ll want a silk sleeping bag liner or a cotton sleeping bag liner
- Full-size toiletries that leaked
Wish I had packed:
- A small laundry line or extra carabiner
- Compression socks for evenings
- One extra lightweight shirt
IF YOU FEEL LIKE YOU PACKED TOO MUCH
IF YOU FEEL LIKE YOU PACKED TOO MUCH …
You’re not alone. Almost every hiker I met on AV1, Palaronda, and MADE said the same thing at some point. The mountains have a way of making us over-prepare — but that extra weight costs you strength, joy, and sometimes blisters.
Here’s how to tell what you really needed vs what you thought you needed:
A Quick Reality Check
- Did you use it every single day? If not, consider leaving it.
- Does it serve more than one purpose? Anything that does two jobs stays; everything else goes.
- Could you borrow/buy it near the trailhead? (Many towns near Dolomite trailheads have basic outdoor stores.)
Items People Almost Always Return Home With
- Excess snacks (most rifugios feed you well)
- Duplicate clothing items
- Bulky towel or comfort items
- Too many electronics/cables
Items People Always Use
- Good socks and liner system
- Trekking poles
- Tiny first-aid items you actually used
- Plug adaptor and battery bank
Smart Storage Solutions For First-Timers
Smart Storage & Drop-Off Strategies
Not everyone wants to carry everything from start to finish — especially on MADE or Palaronda where weather, hut spacing, and logistics vary.
Trailhead Storage Options
- Rifugio Storage Bins: Some larger rifugios offer secure gear storage while you explore a rest day. Contact the hut in advance.
- Trail Town Options: In Cortina, Dobbiaco, Sexten, and other hubs, small luggage storage services or lockers exist near train/bus stations.
- Local Outdoor Shops: Some will hold gear or let you ship it back home via courier for a fee.
- Hotels: Did you do bookend stays? Can you drop your luggage off at the Hotel you finish at? or maybe you’ve got the jitters and want to offload items somewhere?! Ask the hotel.
I usually store an after-hike bag in my car with essentials like extra clothes, and I take one or two items out of my hiking bag if I feel like it’s too much.
Final Thoughts on What you Should Pack for a Long-Distance Trek in the Dolomites
Ultimately, packing for the Alta Via was the first step…. It forced me to make mindful decisions, travel light, and prepare for both physical and emotional challenges. That perspective mattered, and I had to go through it to get to it.
If you’re about to embark on your own Dolomites trek, I hope this guide helps you feel a little more prepared, a little less overwhelmed, and a whole lot more empowered.
Let me know if you have questions or want to share your packing wins — I’d love to cheer you on!
Frequently Asked Questions: Packing for your first hut-to-hut Trek in the Dolomites
Do you need a sleeping bag for rifugios in the Dolomites?
No. Rifugios provide blankets and pillows, but most require hikers to bring a sleeping bag liner for hygiene. A liner is lightweight, packs small, and is sufficient even on cooler nights.
My pack weighed around 5kg without water. With 2 liters of water, snacks, and camera gear.
Some rifugios offer Wi-Fi, but it’s often slow or limited to common areas. Cell service is spotty on the trail, especially in deep valleys. Always download maps in advance!
Yes, especially from mid-June through September. Many popular rifugios fill up weeks in advance. Booking early also gives you a flexible base to plan your hiking stages.
The hiking season runs from late June to mid-September. July and August are the busiest but offer the most stable weather. September is quieter but colder, especially at night. Last year there was an unexpected snowstorm that came through the area while on the AV1, the weather is unpredictable.
No guide is required. The trails are well-marked and mapped. However, if you’re nervous or new to long-distance trekking, a guided trip (like with Bookatrekking) can ease the logistics.
Yes! Most rifugios have potable water, and many trailside fountains offer drinkable water. Bring a filter or purification tablets just in case, especially on AV2.
Most rifugios provide beds, blankets, dinner, and breakfast. You need to bring a sleeping bag liner, toiletries, earplugs, layers for warmth, and sometimes cash. Towels and showers are not guaranteed.
Not usually. Most rifugios and many trail fountains provide potable water. On more remote routes (like parts of Alta Via 2), a small filter or purification tablets add peace of mind.
Yes. Established routes like Alta Via 1 and Alta Via 2 are well-marked and well-traveled in summer. Rifugios provide built-in community, and preparation—offline maps, battery backup, and route planning—goes a long way.
Save This Post for Later
📌 Planning your trek soon? Pin this blog post on Pinterest so you can come back to it anytime. It’s the perfect reference for when you’re ready to pack!