Alta Via 2 in 4 Days: A Short Hut-to-Hut Trek for First-Timers

For years, I dreamed about hiking the Alta Via 2—one of the most demanding long-distance routes in the Dolomites. But with limited time and no desire to tackle via ferrata solo, I chose a more approachable option: a 4-day Alta Via 2 short route that still delivers big alpine terrain, classic rifugios, and real challenge.
This hut-to-hut trek takes you from Bressanone (Brixen) into the heart of Puez–Odle Nature Park, before descending into Ortisei in Val Gardena. Along the way, you’ll sleep in high mountain huts, cross scree-filled passes, and hike beneath some of the most iconic peaks in the Dolomites—without committing to the full two-week itinerary.
If you’re looking for a solo-friendly Alta Via 2 experience with no mandatory via ferrata, this shorter route is a smart place to start.
This Post Pairs Well With:
If you’re planning a longer Dolomites trip or deciding which trek fits your experience level, these guides pair well with this one:
- Hiking the Palaronda Trek Solo: Learn about this High Alpine route
- Guided vs Self-Guided vs DIY: How to book a Trek that’s right for you!
- MADE trek: Italy’s Quiet Trail in the Friulian Dolomites
- My favorite places to stay in the Dolomites: By area and town
- Dolomites Rifugio Guide: What to Expect During a Stay at a Mountain Hut in the Dolomites

At a Glance: 4-Day Alta Via 2 Short Route
- Route: Bressanone → Rifugio Plose → Rifugio Genova → Rifugio Firenze → Ortisei
- Duration: 4 days / 3 nights
- Distance: ~50 km (31 miles) total
- Elevation: +2,200 m / −2,500 m (approx.)
- Difficulty: Moderate — some scree passes, rocky footing, but no technical via ferrata
- Best season: Late June – September
- Booked through: Bookatrekking (rifugio reservations + trail notes)
- Rifugios stayed: Plose, Genova (Schlüterhütte), Firenze (Regensburger Hütte)
- Signage: White-red CAI flashes, “Alta Via 2 / Dolomiten Höhenweg 2” plates, trail numbers
What is the Alta Via 2
The Alta Via 2 is one of the classic long-distance hut-to-hut hiking routes in the Italian Dolomites. Often referred to as the more challenging sibling to the Alta Via 1, this route spans approximately 160 km (100 miles) from Bressanone (Brixen) in South Tyrol to Croce d’Aune in the Belluno province.
What sets the Alta Via 2 apart is its terrain. While some sections are straightforward mountain hiking, others involve steep scree, exposed passes, and optional via ferrata routes. Because of this, many hikers choose to complete the trail in sections, rather than tackling the full two-week itinerary all at once.
My hike focused on a 4-day northern section of the Alta Via 2 — enough to experience its dramatic landscapes and rifugio culture without committing to the full route.
This map shows the exact rifugios and hotels I used on my 4-day Alta Via 2 short route, helping you visualize daily stages and plan logistics without overwhelm.
How to Use This Map:
Click the icon in the top left corner to see all the places I’ve pinned around the city— from cafés and museums to scenic viewpoints. You can turn layers on or off and click any pin to learn more about each spot. Want to keep it handy for your trip? Click the star next to the map’s title to save it to your Google account.
Then, open the Google Maps app, go to “Saved” → “Maps,” and you’ll see this map ready to guide you while you explore.

Why the Alta Via 2 short is a good idea
This short route lets you experience the Alta Via 2 without committing to a two-week, via-ferrata-heavy itinerary. After these four days, it’s easy to continue exploring other parts of the Dolomites using the Dolomiti bus network.
You also have the option to add on via ferrata, if you like. Just outside of Rifugio Genova/Schlutterhutte is a via ferrata, Sass Di Putia. This is a great add-on to Day 2 for those of you who want that adrenaline rush!
Important: Via ferrata routes require proper equipment and experience. Do not attempt them without the correct gear.
Can You Hike the Alta Via 2 Solo?
Short answer: yes — absolutely.
Solo hiking on the Alta Via 2 is very doable, especially on carefully chosen sections like this one. The trail is well-marked with CAI trail numbers and Alta Via 2 signage, rifugios are spaced at manageable distances, and you’re rarely truly isolated during peak season.
That said, solo hikers should be honest with themselves about:
- Fitness level
- Comfort with exposure
- Weather awareness
- Navigation skills
I hiked this section solo and felt confident throughout — largely because I chose stages without mandatory via ferrata and planned conservative daily distances. Rifugios also offer a built-in sense of community; even when you hike alone, you’re rarely alone at night.
If you’re considering your first solo hut-to-hut trek, a shorter Alta Via 2 section like this one is an excellent confidence builder.

Rifugios on This 4-Day Alta Via 2 Route
On this 4-day Alta Via 2 section, I stayed at three rifugios. Each offered something completely different, which is part of what made this trek so special.
- Rifugio Plose
A scenic starting point high above Bressanone. It’s recently been remodeled, and it’s one of the huts I’d happily return to. - Rifugio Genova (Schlüterhütte)
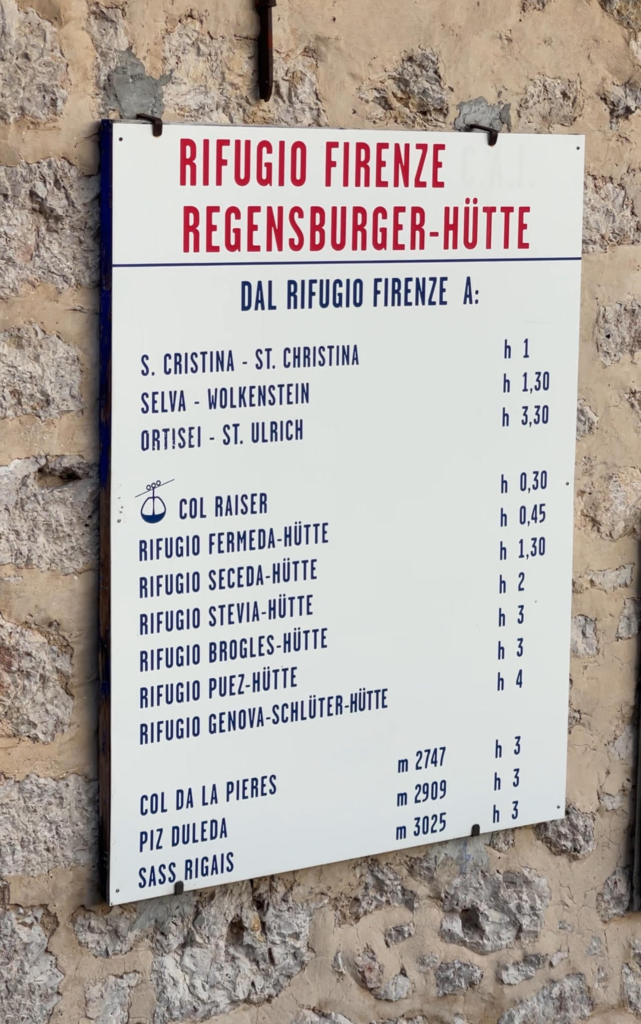
Located on a grassy saddle near the entrance to Puez-Odle Nature Park, this hut is a favorite for good reason — welcoming atmosphere, hearty food, and big views. - Rifugio Firenze (Regensburger Hütte)
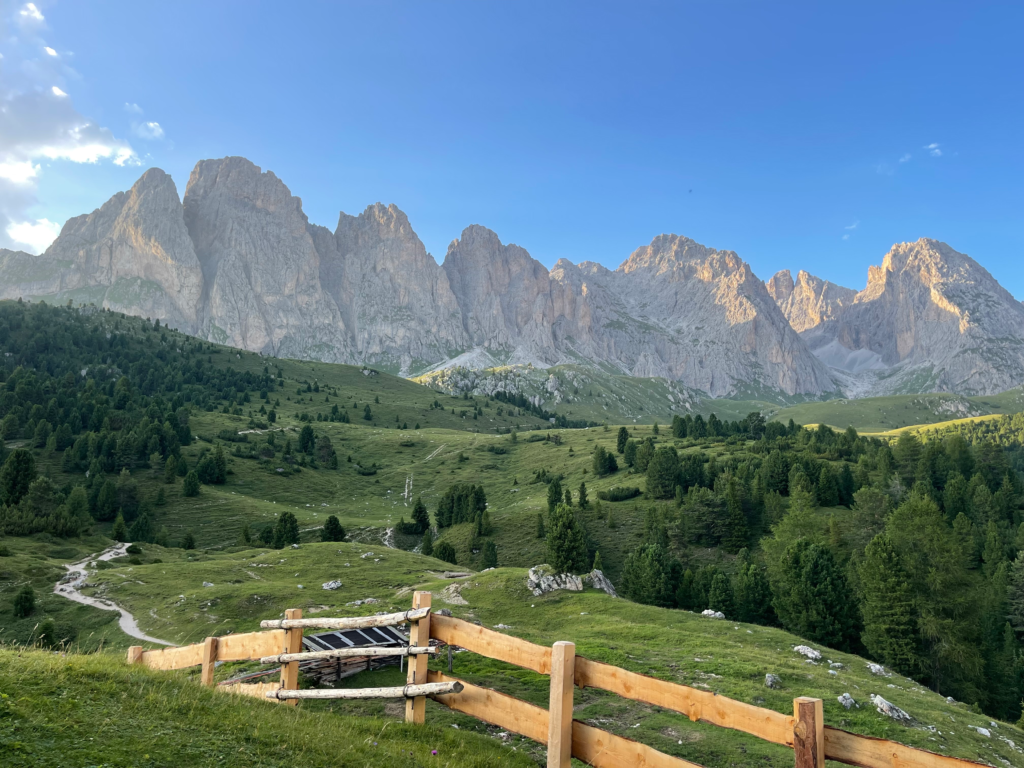
One of the most beautifully positioned rifugios in the Dolomites, sitting directly beneath the jagged Odle peaks. Sunset here alone is worth the trek.
Each rifugio provides dinner, breakfast, dorm-style sleeping, and a warm place to rest after long days on the trail.
4-Day Alta Via 2 Short Itinerary (Day-by-Day)
Below is the Itinerary that Bookatrekking booked for me. They also have one listed as the Alternative Alta Via 2 Short
Alta Via 2, Day 1: Bressanone/Brixen to Plose
- Distance: ~3km 40minutes
- Elevation: +400 m
- Trail markers: CAI 3; option to detour on CAI 7 to Großer Gabler (2,575 m)
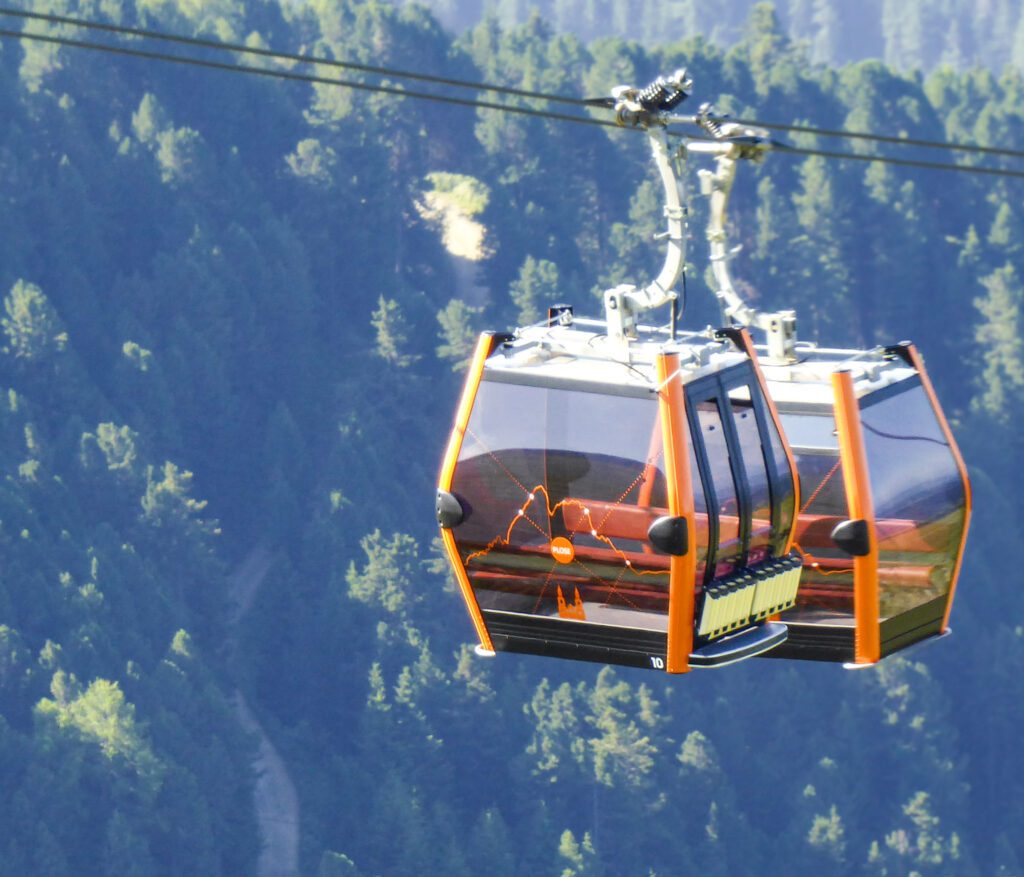
With my BrixenCard, I took the bus and gondola to Kreuztal/Valcroce, the top station of Plose. Signs immediately pointed toward “Alta Via 2 / Dolomiten Höhenweg 2”.
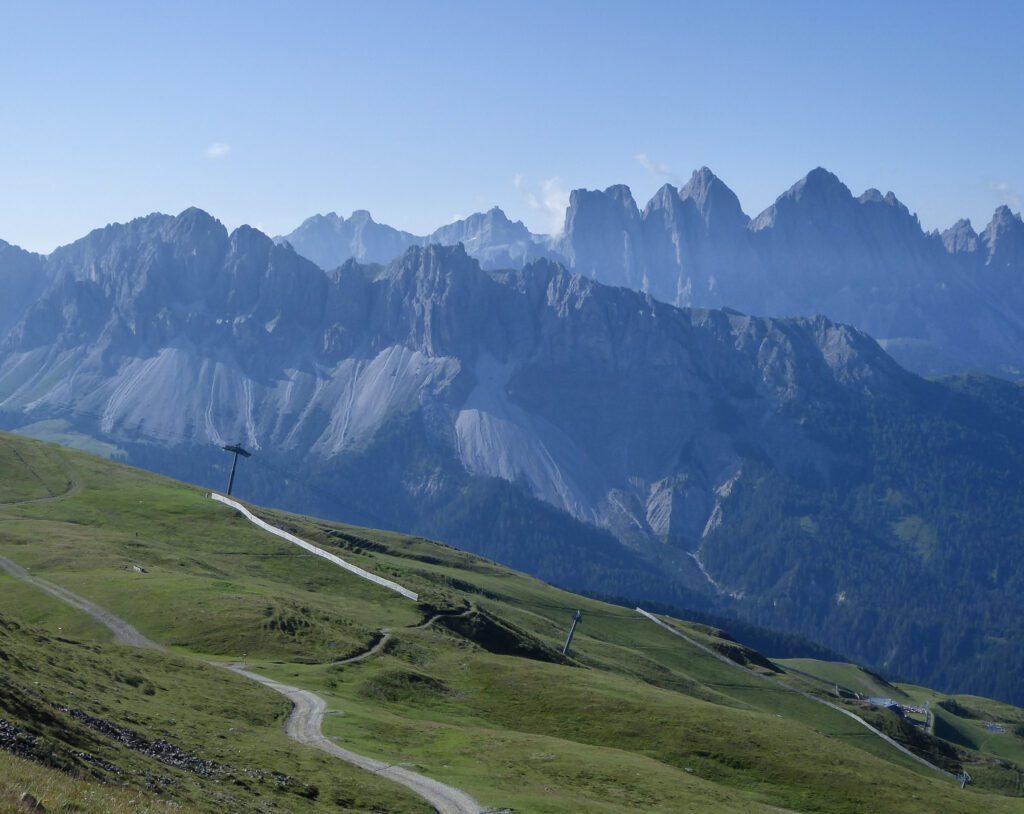
The walk to Rifugio Plose is short but panoramic, winding through alpine pastures, You can easily stretch this short walk into hours by stopping to take photos.
Optional detour: Climb CAI 7 from the Pfannspitz area to Großer Gabler (2,575 m) for 360° Dolomites views.
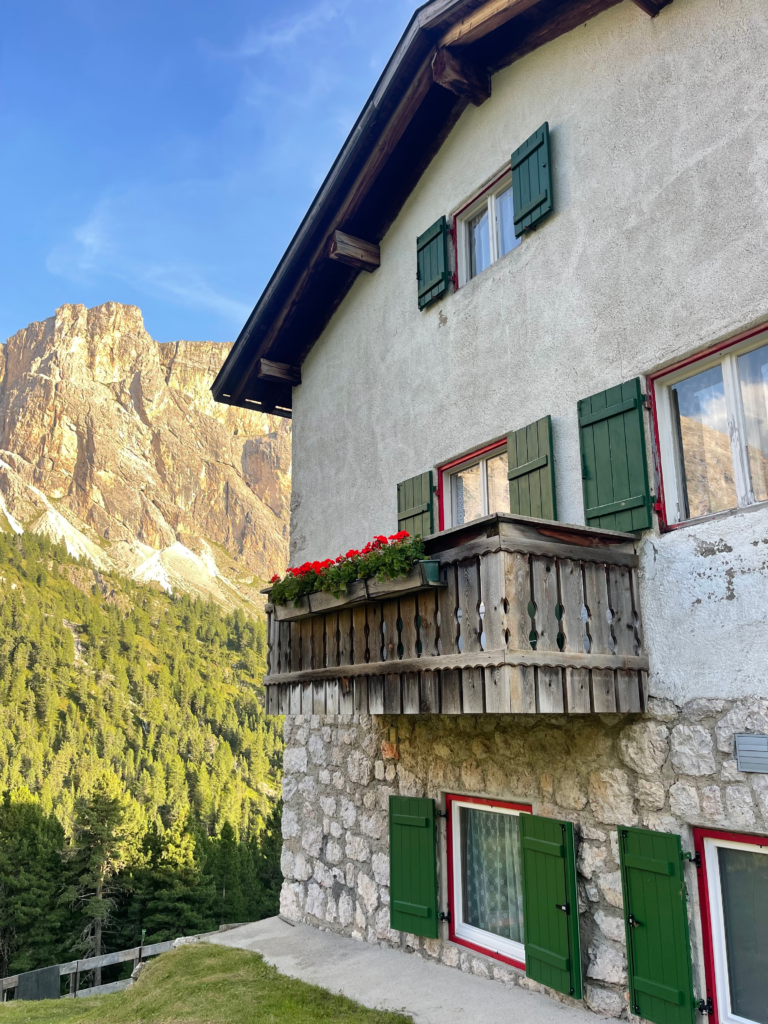
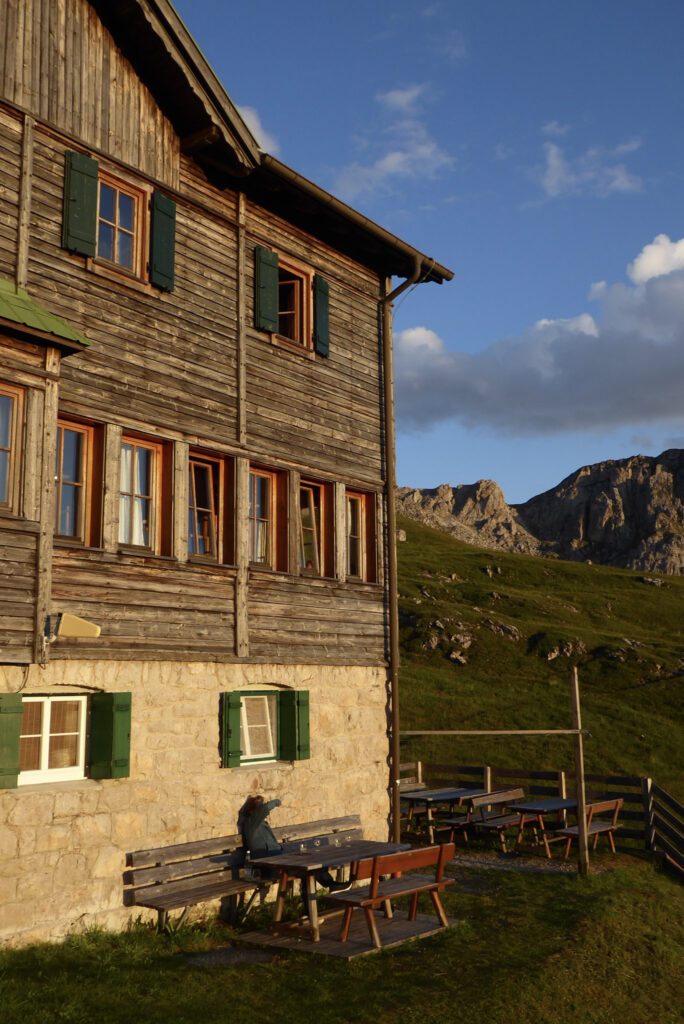
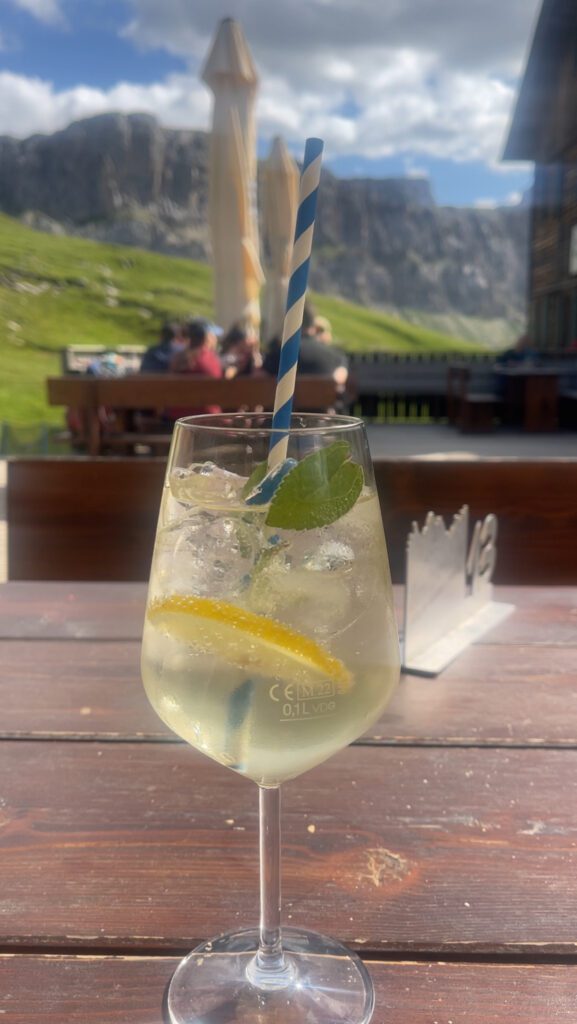
Evening at Rifugio Plose
Rifugio Plose is possibly one of the most accessible huts in the Dolomites, so they have quite a few amenities. The hut has been recently renovated, so photos may not reflect the current interior.
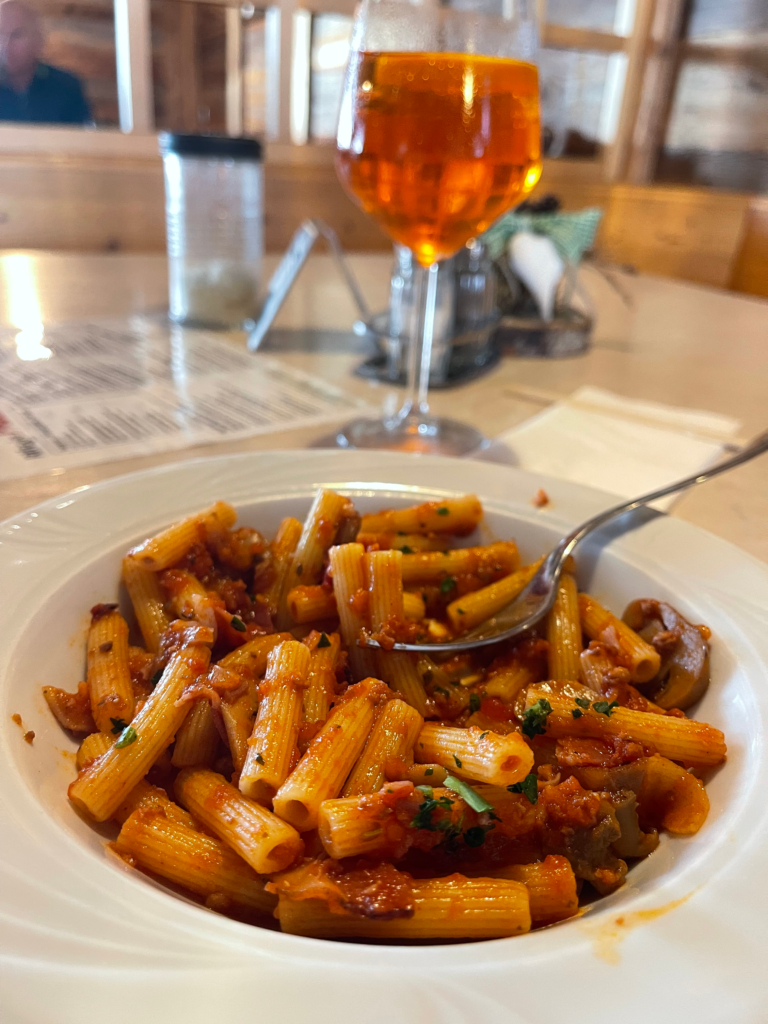
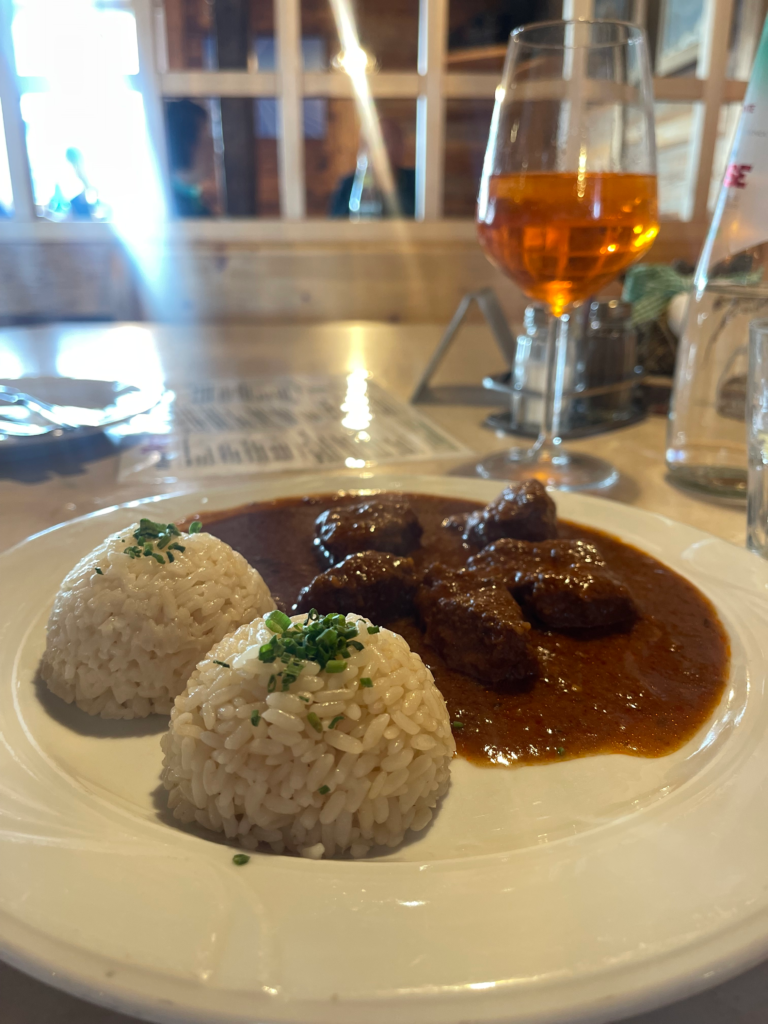
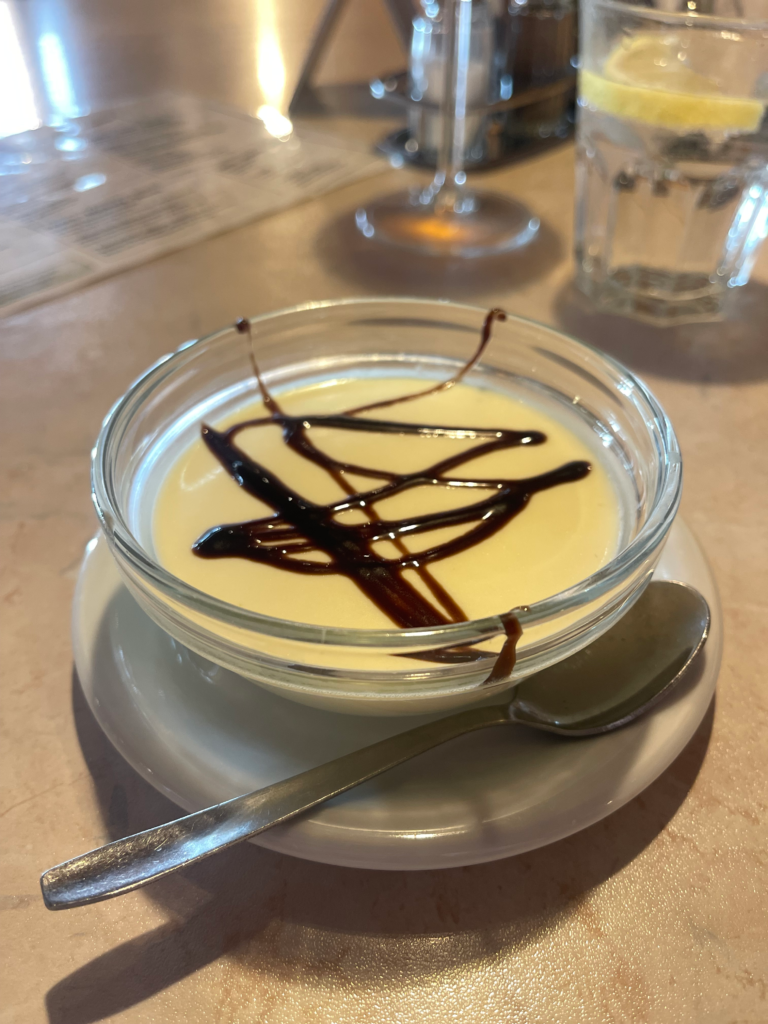
What I can tell you is they serve you simple food that gets you full, think pasta and hearty soups with delicious desserts. You’ll have the option to order lunch to go the night before.
That evening, I shared a dorm with three Italian men who had decided on the Alta Via just weeks earlier. Their alarm was set for 4 a.m. to push toward Rifugio Puez. My route was gentler —I would head for Rifugio Genova.


Day 2 — Rifugio Plose → Rifugio Genova (Schlüterhütte)
- Distance: ~13 km
- Elevation: +550 m / –700 m
- Terrain: Rolling alpine paths, rocky sections, a few short but steady climbs
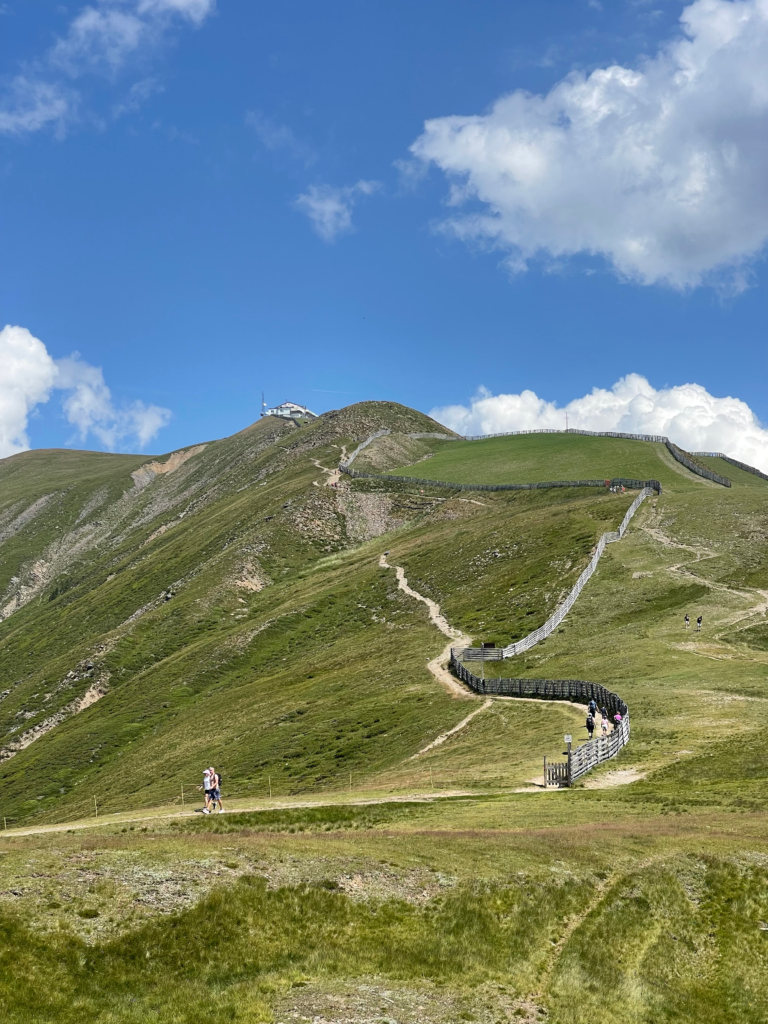
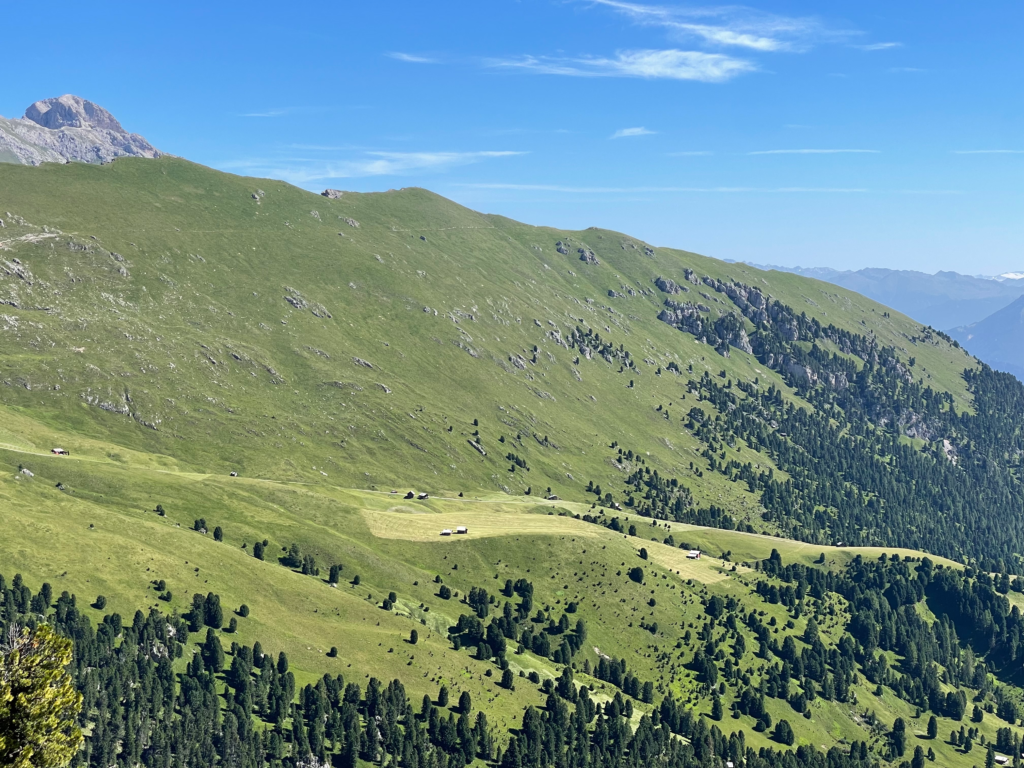
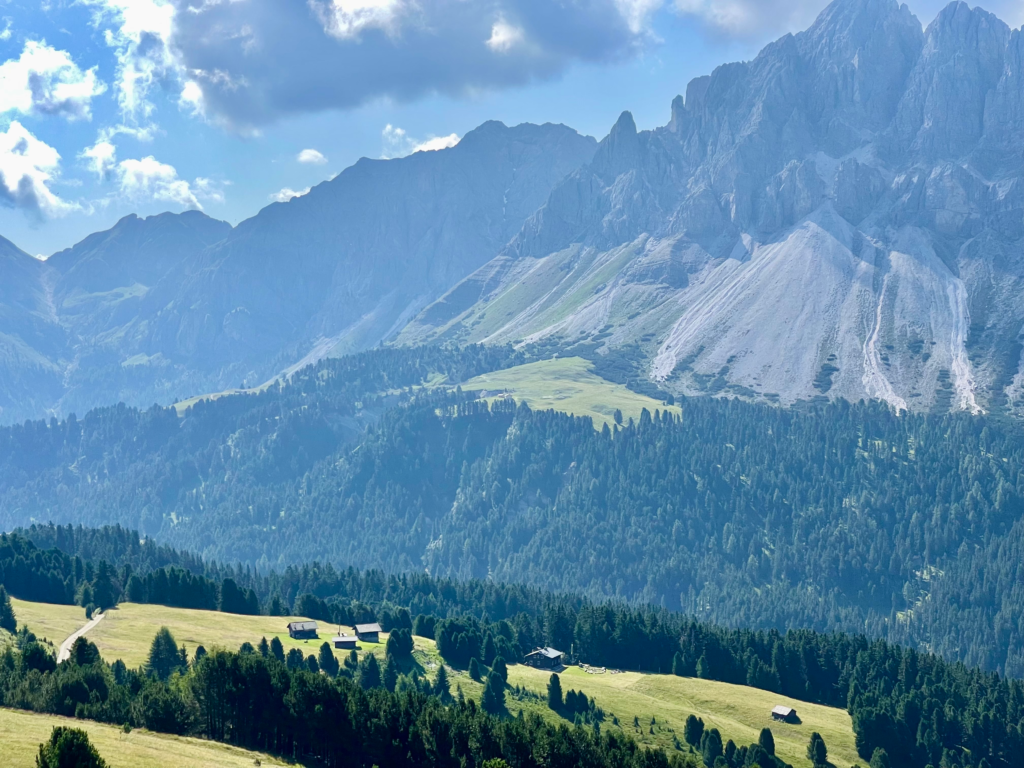
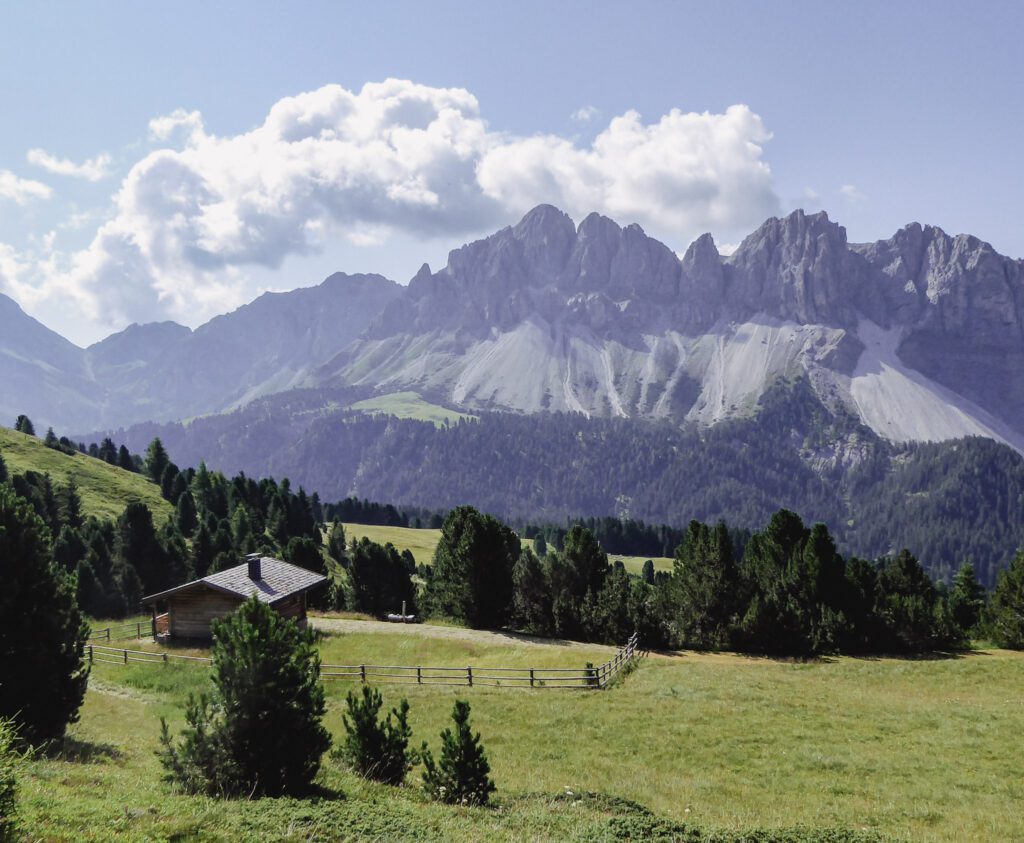
Leaving the Plose ridge, the trail starts to pull you away from those wide-open meadows and aim you straight toward the massive presence of Sass de Putia. This part of the hike felt big — big skies, big views, and that quiet that only exists once you’re properly in the mountains.
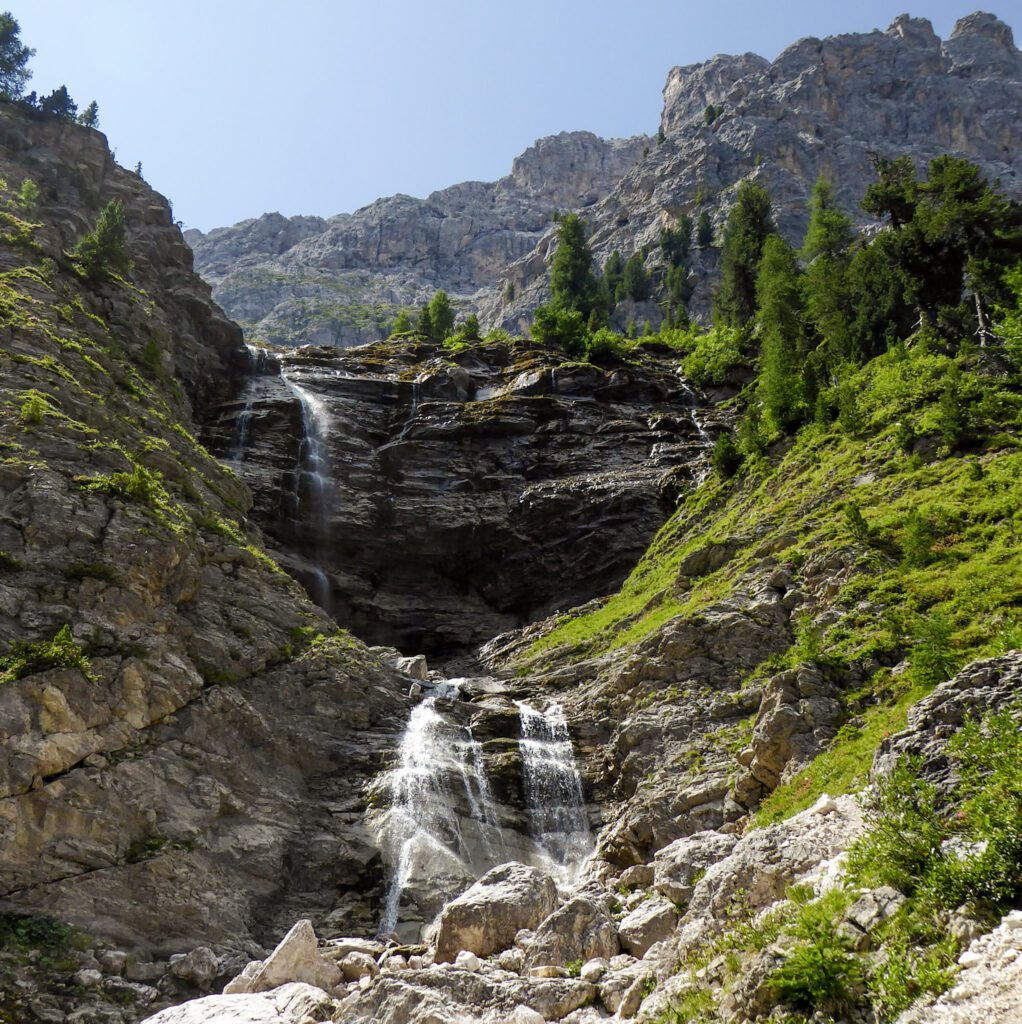
Before you reach Furcela de Pütia, there’s a stream crossing that really stuck with me. A waterfall feeds into it, and it’s genuinely beautiful —You’ll probably want to stop for photos.
But I’ll be honest: it was also one of those moments where I slowed way down.
You’ll continue up the trail, and it follows the ridgeline; it’s steep and you’ll feel it.
Once you’re across, the climb toward Furcela de Pütia begins. It’s not brutal, but you’ll feel it in your legs. This is where I really settled into a rhythm: steady steps, short breaks, and lots of looking around because the views just keep getting better.
At Forcella di Pütia, turn right onto trail no. 4 (Alta Via 2) and walk for about 15 minutes. At the fork, head downhill to Genova. This part of the trail gives you BEAUTIFUL views of the surrounding area in San Vigili.
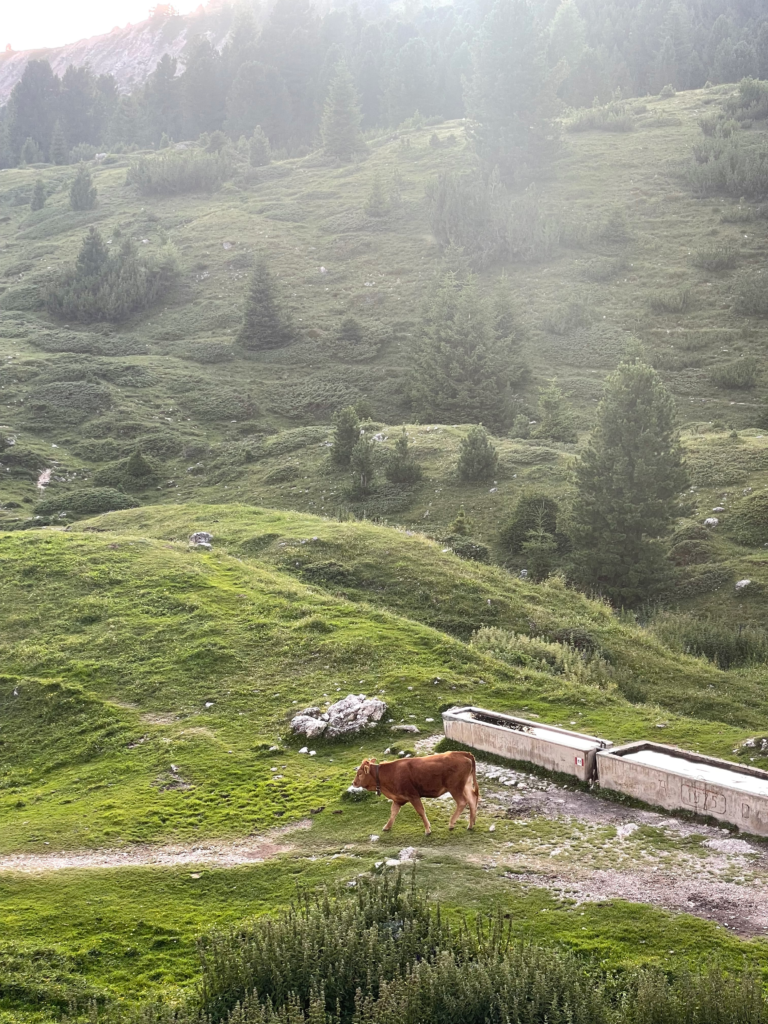
As you come around the bend, you’ll be greeted with cows, and you’ll see the hut long before you reach it, sitting in this wide, open basin — and I can’t tell you how comforting that was at the end of the day.
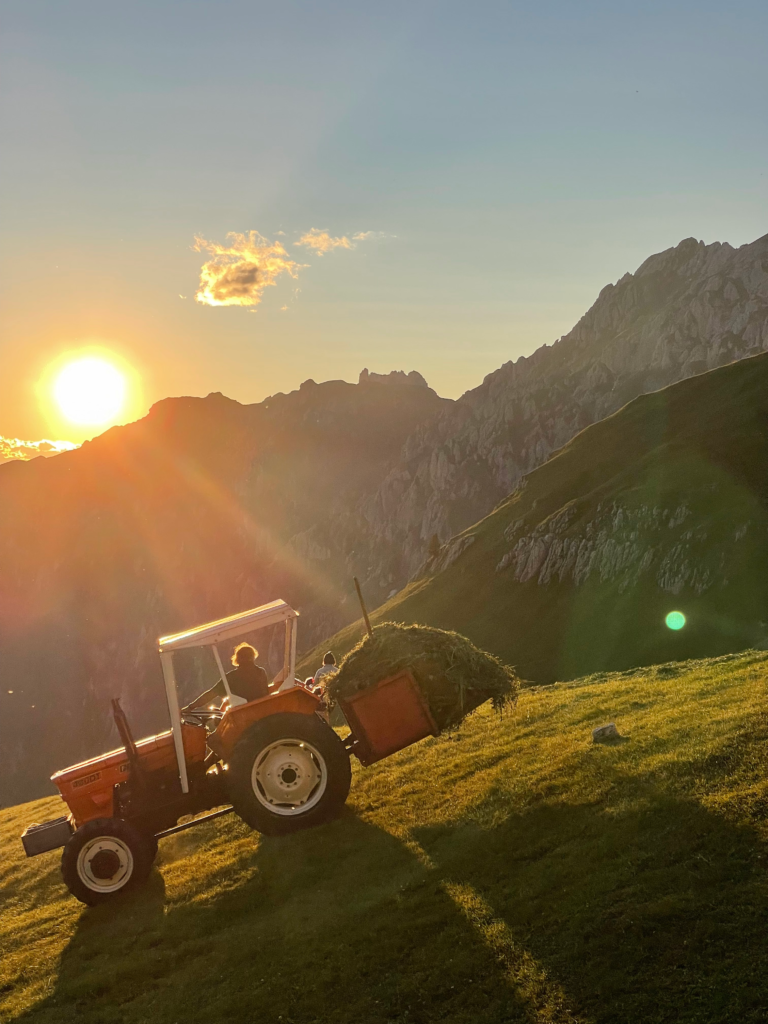
Rifugio Genova happens to be my favorite hut to this day. They have some of the best sunsets and sunrises. You’ll love the hospitality here.
Watch for mountain bikers on this section—stick to one side of the trail to avoid surprises
Evening at Rifugio Genova (Schlüterhütte)
This is a busy rifugio, and it’s quite a popular one in the Dolomites, so be prepared for lots of things going on. Check in at the bar, and they’ll direct you to your room. The room I stayed in had 10 beds. I shared space with 6 French hikers, and the rest were Italian.
The food here is some of the best, warm, hearty meals. I won’t wax poetic about the Dumplings in Broth here, but you can find out more about what to expect at Rifugios in another post I wrote.
The atmosphere is very social at dinner, so if you are solo, please don’t shy away from making friends. The rifugio usually puts you with different people.
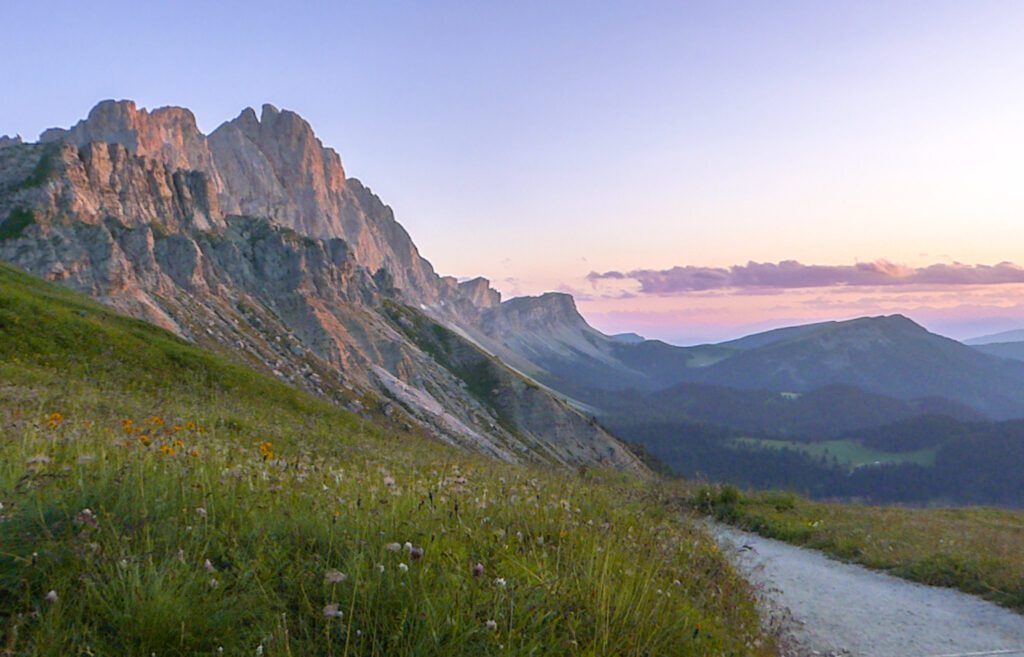
That night I had the opportunity to watch one of the best sunsets in the Dolomites. You’re on the back side of the Seceda ridgeline, so the view is pretty phenomenal.
Alta Via 2, Day 3: Rifugio Genova/Schlutterhutte to Rifugio Firenze
- Distance: 14 km / 6–7 hours
- Elevation: +600 m / −850 m
- Trail markers: CAI 3 + CAI 2
- Key passes: Forcella della Roa, Forcella Forces de Siëles (2,505 m)
This was the highlight day of the trek. Day 3 was the most demanding—and the day I had a brief panic moment, so you don’t have to.
It’s best to pay attention to the weather on this one because the ascent up Forcella Della Roa is a bit hairy.
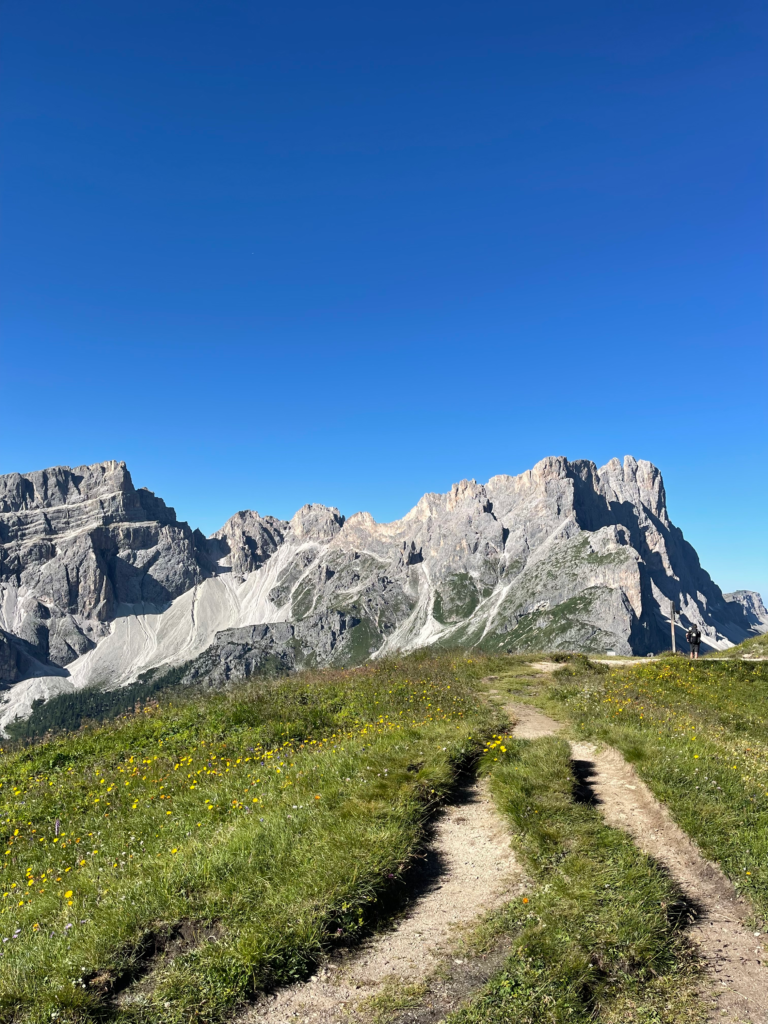
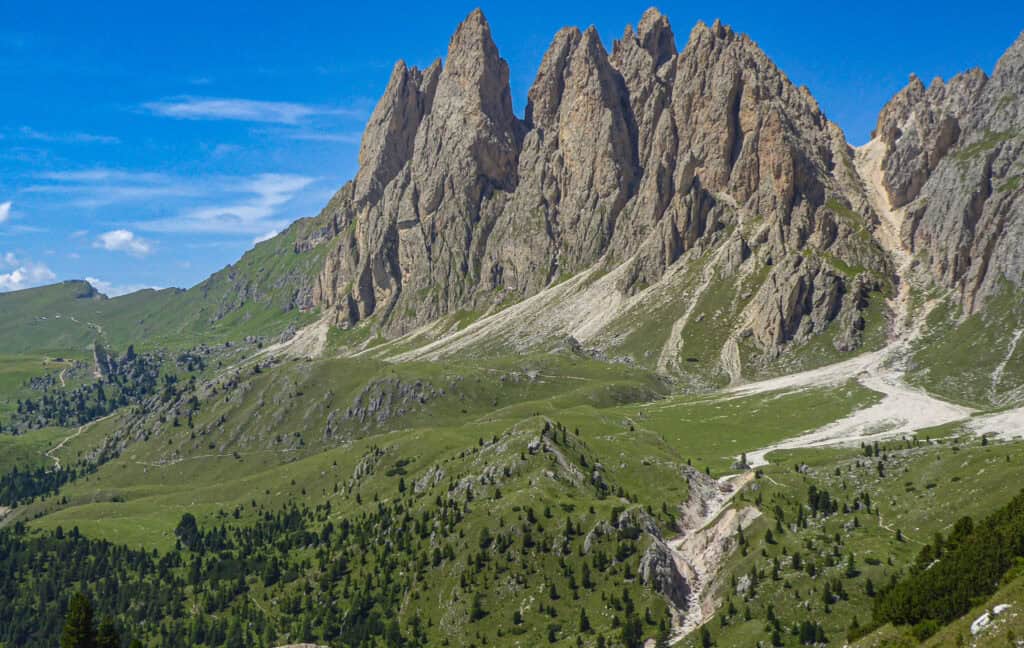
Your hike starts as you get back onto the Alta Via 2 path. You’ll climb the side of a mountain that gives you views of the Puez mountain range. They are dramatic, and no doubt you’ll want to linger. Continue following the Alta Via 2 signage along a moderate ridgeline. You’ll see Forcella della Roa ahead of you.
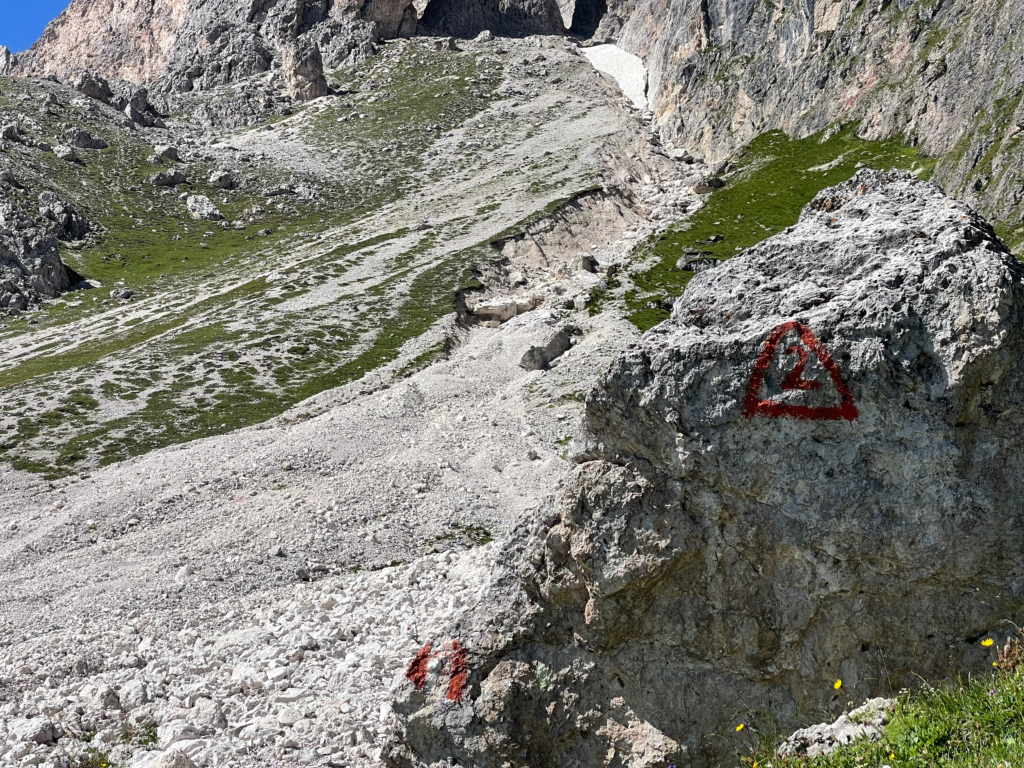
At this specific point, you’ll be crossing scree field after scree field, and it’s here where you can choose to take a rest before attempting Forcella Della Roa
Forcella Della Roa
Forcella della Roa is a zig-zagging scree climb situated next to Piz Duleda. Note that you’ll be going up as others are coming down, and rocks will get kicked at you. Be prepared for slippery rocks that absorb your energy. That’s exactly how this section felt for me.
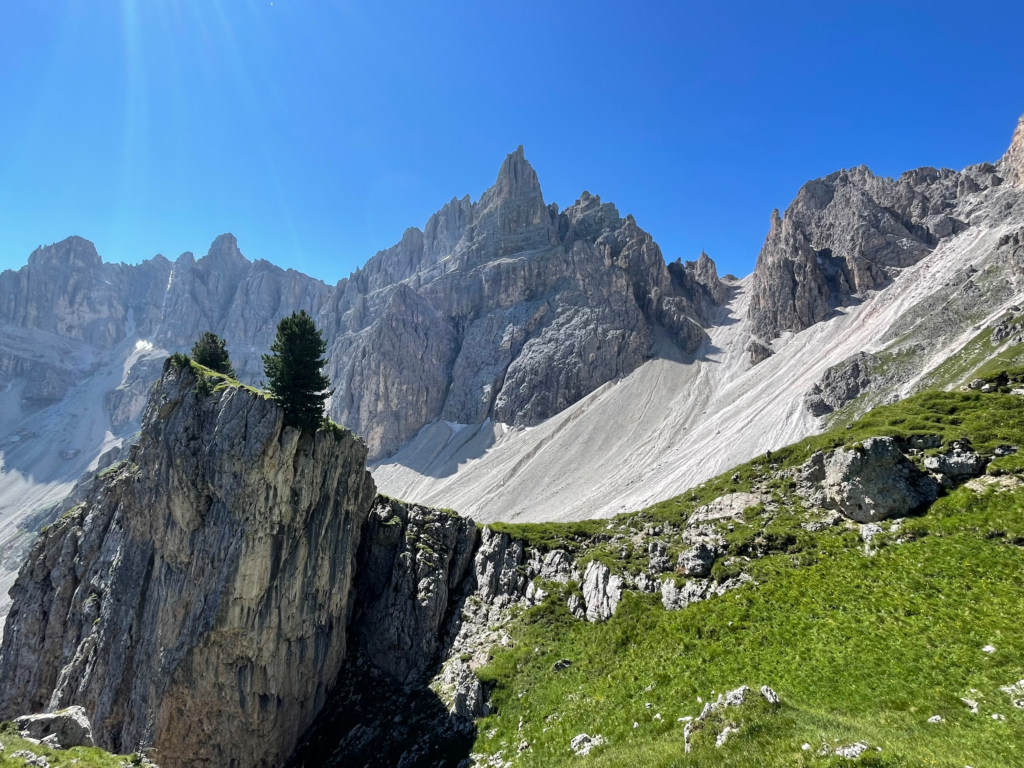
Once at the top, the pass also offers splendid views of the Puez mountain range. Take your time here and just stop for a snack if needed. Next, you’ll see signs for Rifugio Firenze and descend through the Roa Valley towards Rifugio Firenze
The last half of the hike can get hot on summer days, especially with that reflection of the white rock; it’s important that you hydrate on this section.
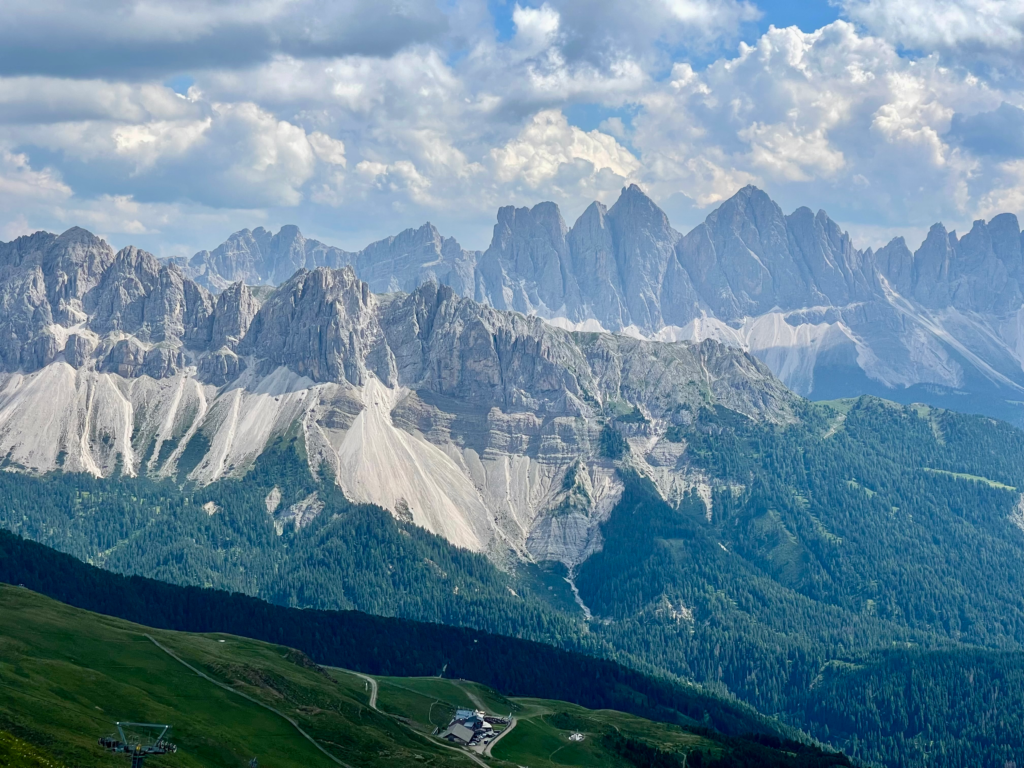
Sitting beneath the Odle peaks as the sun turned them pink was one of those moments you never forget.
Optional detour: Experienced hikers can add Col dala Pieres via CAI 17, looping back to Forces de Siëles.
Alta Via 2 Day 4: Rifugio Firenze to Ortisei
Day 4 of the Alta Via 2 is where I intentionally stepped off the standard route—and I’d make the same choice again.
Instead of continuing deeper into Val Gardena as suggested by Bookatrekking, I opted for the longer descent into Ortisei. The reason was simple and practical: I was staying at Villa Angelino, and accommodation options along the traditional stage finish were extremely limited.
You can absolutely follow the classic route into Val Gardena if you’re moving hut to hut or already have lodging secured—and it keeps you perfectly aligned with the official Alta Via 2 itinerary. However, for hikers who mix rifugios with town stays, Ortisei offers a far more flexible setup: reliable hotels, diverse food options, convenient transport links, and an easy reset point before continuing on.
For me, this wasn’t about ‘breaking the rules’ and more about hiking sustainably—logistically, physically, and mentally. Sometimes the smartest Alta Via decision isn’t the most purist one; it’s the one that lets you rest well and keep going strong.
Instead of me describing the entire route, click on the embedded route below to see how I got to Seceda.
Planning & Booking The Alta Via 2 short
Guided or Self-Guided? Which method is best for me?
This is one of the most common questions I get — and the answer depends entirely on your experience level and comfort zone.
I completed this trek self-guided, but I didn’t do it blindly. I used professional support for logistics and relied on my own navigation and pacing once on the trail.
I’ve written a dedicated blog post that walks through:
- The pros and cons of guided vs self-guided trekking
- Who should consider a guide
- When self-guided makes more sense
- Cost, safety, and confidence factors
- If you’re on the fence, I highly recommend reading the post below before deciding.
How to Book Rifugios in the Dolomites
Rifugio booking can feel intimidating at first — different languages, limited availability, and varying reservation systems. I’ve been there.
That’s why I wrote an in-depth guide that covers:
- When rifugios open reservations
- How far in advance to book
- What to include in an email request
- Common mistakes first-timers make
- When to use booking services like Bookatrekking
👉 How to Book Rifugios in the Dolomites: A Beginner’s Guide
Whether you book independently or through a service, understanding the process will make your trip far less stressful.
Where to stay before the Alta Via 2?
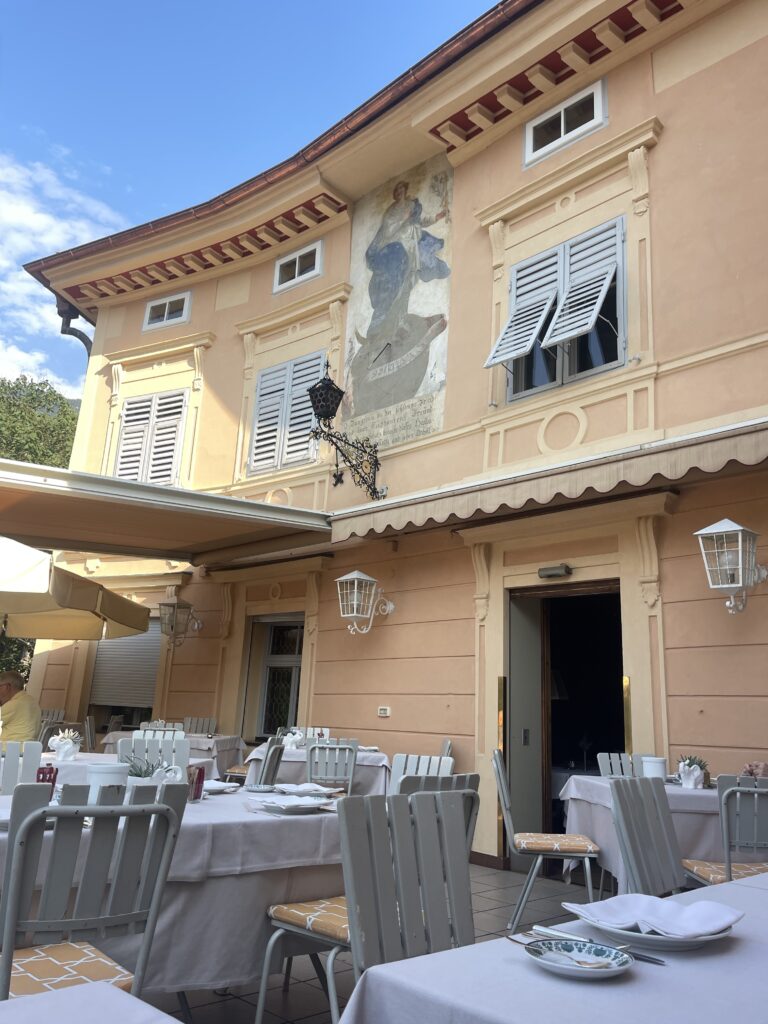
I chose to stay at Hotel Elephant — a historic hotel that feels both elegant and deeply rooted in this valley.
Why stay at Hotel Elephant?
Dinner here was one of those slow, celebratory meals where you linger over local wine and Tyrolean specialties. My room overlooked the hotel’s manicured garden, and I remember thinking: This feels like a treat before the rough-and-ready rifugios to come.
The best part? Hotel Elephant takes part in the BrixenCard (Plose Card) system, which gave me:
- Free use of buses and trains across South Tyrol
- A free ride up the Plose cable car (essential for starting this trek)
- Entry to local museums and even the town’s Acquarena pool complex
Bressanone itself is worth some time. Cobbled streets wind past pastel-colored houses, frescoed churches, and cafés perfect for lingering with a cappuccino. Before heading back to my room, I stopped at a supermarket to stock up on nuts, chocolate, and fruit — simple but crucial trail snacks.
Pre-Hike Logistics: What I did BEFORE the Alta Via 2
One of the biggest mental hurdles before any multi-day hike isn’t the trail itself—it’s everything that comes before it: getting to the start point and sorting logistics.
Here’s exactly how I handled the logistics before starting the Alta Via 2.
The Train to Bressanone/Brixen
I caught the train north from Vicenza, watching the scenery slowly shift from Veneto’s rolling hills to South Tyrol’s sharp alpine ridges.
I did a quick change in Bolzano to get on the regional train that would take me to Bressanone
By the time the train pulled into Bressanone, the air felt cooler and crisper. The town itself sits in a wide valley, framed by peaks on all sides — the kind of place that immediately makes you feel like you’re in the right place to start a hike.
Bressanone is an ideal launch point for the Alta Via 2:
- It’s well connected by train from Verona, Bolzano, and Innsbruck
- It has supermarkets, pharmacies, and cafés for last-minute needs
- It’s compact and easy to navigate on foot
You can check out train schedules below:
From the Train Station to Hotel Elephant
From the station, I took a short taxi ride to Hotel Elephant, where I stayed the night before starting the hike.
The city of Bressanone/Brixen is easy enough to get around on foot, by taxi, and by bus!
Yes, You Can Rely on Public Transportation in the Dolomites
It’s worth saying clearly: you do not need a car to hike in the Dolomites.
You can absolutely rely on trains and buses, and they work together far better than many people expect. I chose to use public transportation because I wanted to fully understand how it worked — and because I wanted the confidence of knowing I could do it on my own.
If you’re traveling internationally or coming from elsewhere in Europe, this is good news:
- No rental car stress
- No parking headaches
- No worrying about where you’ll leave your car at the end of the hike
If I could figure it out, you can too.
Helpful Apps for Getting Around South Tyrol
To make transportation easier, I relied on a few smartphone tools that I highly recommend downloading before you arrive:
- Südtirol Bus
This is the official bus network for South Tyrol. Use it to:- Check real-time bus timetables
- Plan routes between towns and trailheads
- Confirm connections to cable cars
- Train apps (Trenitalia / DB Navigator)
These are invaluable for checking train schedules, platforms, and delays — especially if you’re crossing regions or borders.
Once you get the hang of it, the system feels intuitive — and it’s empowering
Final Thoughts: Is the Alta Via 2 Short Route Worth It?
If the full Alta Via 2 has been sitting on your wish list but always felt a little out of reach, this shorter route is proof that you don’t have to do everything to experience something meaningful.
This 4-day Alta Via 2 short route delivers exactly what makes the Dolomites special: long days on real mountain trail, dramatic limestone scenery, welcoming rifugios, and that quiet satisfaction that comes from moving through the mountains under your own power. It’s challenging in places, yes—but it’s also thoughtful, manageable, and deeply rewarding.
I loved this route because it felt intentional. No rushing. No unnecessary risk. Just solid hiking days, memorable huts, and enough flexibility to make it work as a solo hiker without via ferrata. If you’re looking for a hut-to-hut experience that builds confidence rather than testing limits for the sake of it, this is a very good place to start.
Sometimes the best version of a classic trail isn’t the longest one — it’s the one you actually enjoy.
Alta Via 2 Short Route FAQ
Still deciding if this hike is right for you? I’ve linked additional hut-to-hut routes and planning guides throughout this post to help you compare options and plan with confidence.
This depends on what you mean by “beginner.” You don’t need via ferrata experience for this route, but you do need solid fitness, comfort on uneven terrain, and some experience with long hiking days. If you’ve done multi-day hikes before and want to step into hut-to-hut trekking in the Dolomites, this is a very approachable option.
No. This 4-day route avoids mandatory via ferrata entirely. There are optional via ferrata add-ons near Rifugio Genova, but they are not required to complete the itinerary described in this guide.
Yes — and I did. The trail is well-marked, rifugios are spaced at reasonable distances, and during peak season you’re rarely alone for long. As a solo hiker, the key is choosing conservative stages, monitoring weather closely, and being honest about your comfort level on scree and exposed paths.
This itinerary is designed for 4 days / 3 nights, which allows you to experience a meaningful section of the Alta Via 2 without rushing. You could move faster, but I wouldn’t recommend it — part of the magic is settling into the rhythm of hut-to-hut hiking.
Late June through September is ideal, depending on snow conditions. Early season snow can linger on higher passes, especially around Forcella della Roa. Always check current conditions with rifugios before starting.
Not necessarily. Confident, experienced hikers can complete this route self-guided with proper planning. If you’re unsure about navigation, weather judgment, or logistics, a guided or self-guided package with support can be a great option
Bressanone (Brixen) is an excellent starting point with strong transport connections, and Ortisei works beautifully as an endpoint thanks to its hotels, lifts, and public transportation. Both make the logistics far easier than trying to stay near remote trailheads.